
Last updated September 24, 2026
Attic Insulation Maintenance Checklist for Menlo Park Homeowners
Here’s a counterintuitive fact from the field: the fastest way to ruin attic insulation isn’t age, water damage, or even rodents. It’s a single HVAC service call where the technician leaves the attic hatch propped open during blower operation, pumping conditioned air directly into your loose-fill for two hours. We call this thermal bypass - conditioned air short-circuiting through insulation channels - and it can strip years of effective R-value without leaving a single visible mark from below. In Menlo Park, where heating and cooling degrees are mild but marine moisture is constant, this invisible degradation matters more than calendar-based replacement schedules. This guide will teach you to inspect your attic insulation by event triggers, not by quarter, using methods you can perform with a ruler and a flashlight.
Quick Answer
Attic insulation maintenance in Menlo Park should be performed after specific triggering events - roof work, pest treatment, HVAC servicing, or wind events above 50 mph - not on a fixed schedule. Homeowners should measure settled insulation depth against the ENERGY STAR chart, check for three marine-climate moisture indicators (condensation on the hatch, staining at rafter tails, clumped cellulose near soffits), and keep written documentation of any professional work including depth maps and blower-door readings. Never compress existing batts or add new material without air sealing first; both actions void most manufacturer warranties and reduce thermal performance.
Table of Contents
- Event-Triggered Inspections: When to Check Your Attic
- How to Measure Settled Insulation Depth and Calculate Remaining R-Value
- Three Moisture Indicators Specific to Menlo Park’s Marine Climate
- What Proper Documentation Looks Like - And What to Keep on File
- Maintenance Actions That Void Manufacturer Warranties
- Why Topping Off Without Air Sealing First Is Money Poorly Spent
- A Simplified Annual Walk-Through for Menlo Park Homes
- Common Mistakes to Avoid
- When to Call a Professional
- Frequently Asked Questions
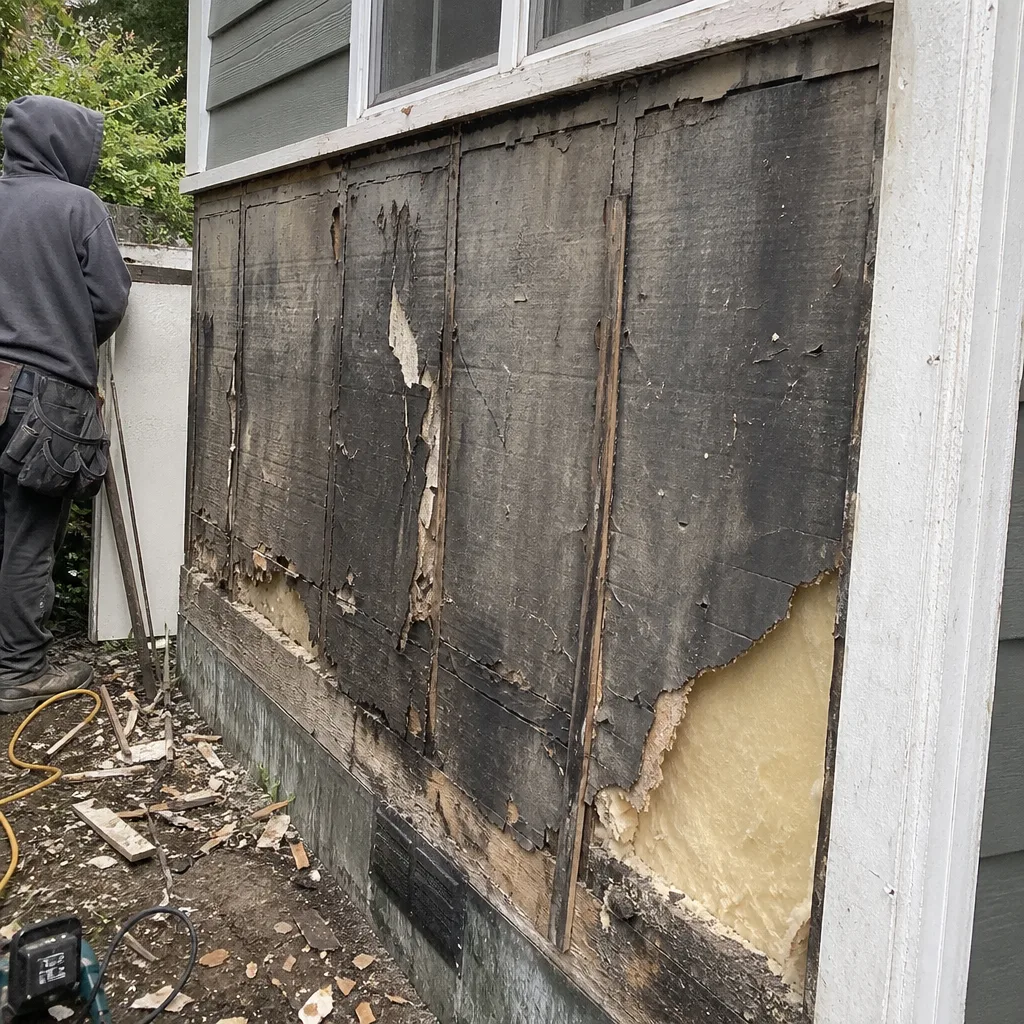 Before
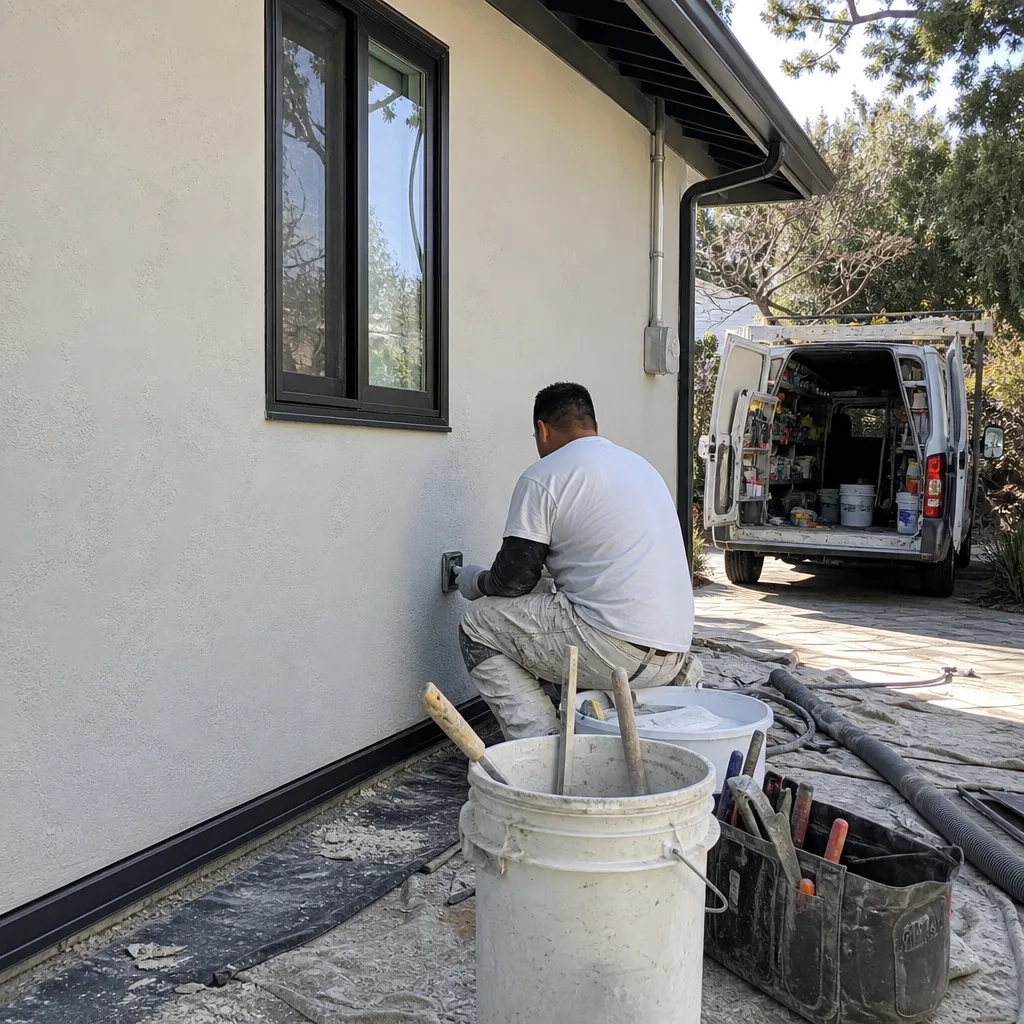 After
AfterEvent-Triggered Inspections: When to Check Your Attic
Most homeowners in Menlo Park treat attic insulation like a water heater - something to think about when it fails. For a deeper look at protecting your home, see The Complete Guide to Insulation in Menlo Park. But insulation doesn’t fail on a timeline. It fails in response to specific mechanical events that disturb the building envelope or introduce unconditioned air. We’ve documented this pattern across thousands of homes in the Bay Area, and the trigger events are remarkably consistent.
After any roof work: Even careful roofers disturb the attic environment. Nailer penetration, foot traffic on joists, and displaced baffles can compress loose-fill or tear batts. In Menlo Park’s older neighborhoods like Allied Arts and Felton Gables, many homes have original redwood skip-sheathing roofs that require full tear-off for modern shingle installation. The vibration alone can settle blown-in cellulose by 10-15%. After roof work, inspect for:
- Compressed or displaced insulation within 3 feet of any penetration
- Missing or damaged baffles at eaves (the cardboard or foam channels that keep soffit vents clear)
- Nail holes or gaps in the ceiling drywall visible from the attic side
- Debris - shingle granules, wood splinters, fastener strips - mixed into insulation
After pest treatment: Rodent activity is common in Menlo Park’s tree-canopied neighborhoods, from the mature oaks in Sharon Heights to the eucalyptus stands near the Bay. Pest control operators often pull insulation to access nesting areas, and even successful exclusion work leaves disturbed material. More critically, many operators use UV-tracking powder or bait that you don’t want in your thermal barrier. Inspect for:
- Tunnels or nesting pockets in loose-fill, especially near plumbing stacks and electrical penetrations
- Urine staining that appears as dark, glossy patches on cellulose or yellowed spots on fiberglass
- Compressed pathways where technicians walked during treatment
- Missing insulation near entry points that were sealed from the exterior
After HVAC servicing: This is the thermal bypass scenario we opened with. Any work involving the air handler, ductwork, or thermostat wiring in the attic creates opportunities for envelope breach. In Menlo Park, where many 1950s-1970s ranch homes have attic-mounted furnaces, this is especially relevant. Inspect for:
- Attic hatch left unseated or weatherstripping damaged
- Flex duct disconnected from boots or registers, blowing conditioned air directly into insulation
- New cable penetrations through top plates without fire-stop foam or caulk
- Filter debris or construction dust settled on insulation surface
After wind events above 50 mph: Menlo Park experiences these most commonly during December-January storm cycles and occasional offshore wind events. High winds can damage ridge vents, dislodge gable vents, or force rain through soffit screens. Inspect for:
- Wet insulation near vent openings, especially at downwind eaves
- Displaced ridge vent material or visible gaps in the vent slot
- Debris - leaves, twigs, roof gravel - indicating air infiltration paths
- Insulation stained with wind-driven moisture, often appearing as tide lines on rafters
How to Measure Settled Insulation Depth and Calculate Remaining R-Value
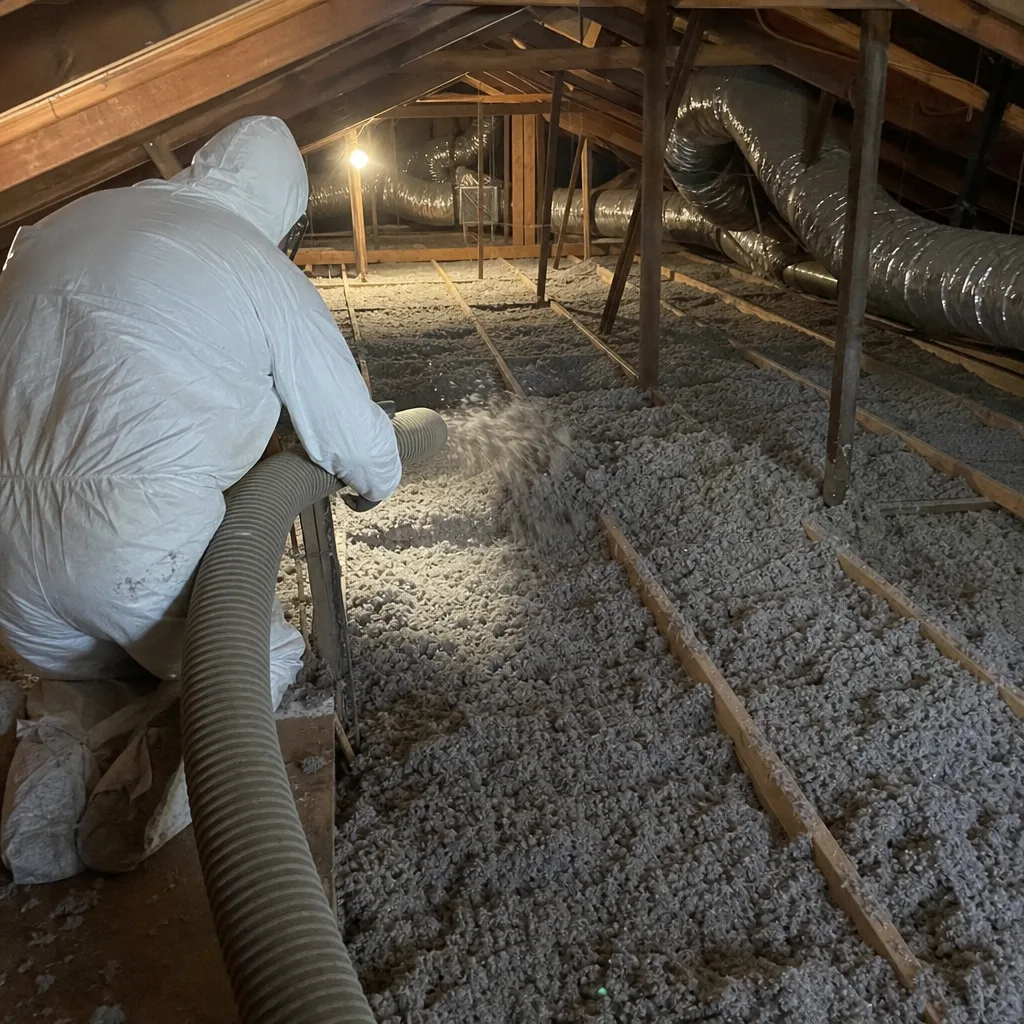
This is the field method we teach homeowners who want to verify their insulation condition without calling us first. You’ll need a yardstick or rigid ruler, a flashlight, and the ENERGY STAR insulation depth chart for your material type.
- Choose your measurement points. In a typical Menlo Park attic - roughly 1,200-2,400 square feet of floor area - take 5-7 depth readings in a grid pattern. Avoid areas directly adjacent to attic hatch openings, within 2 feet of eaves, or above known heat sources like recessed can lights. These are edge zones, not representative of the field condition.
- Compress gently to the substrate. Push your ruler vertically through the insulation until you feel the drywall or plaster ceiling below. Note the depth at the top surface of the insulation, not the highest fluffy peak. Loose-fill cellulose and fiberglass settle; you’re measuring the settled depth that actually provides thermal resistance.
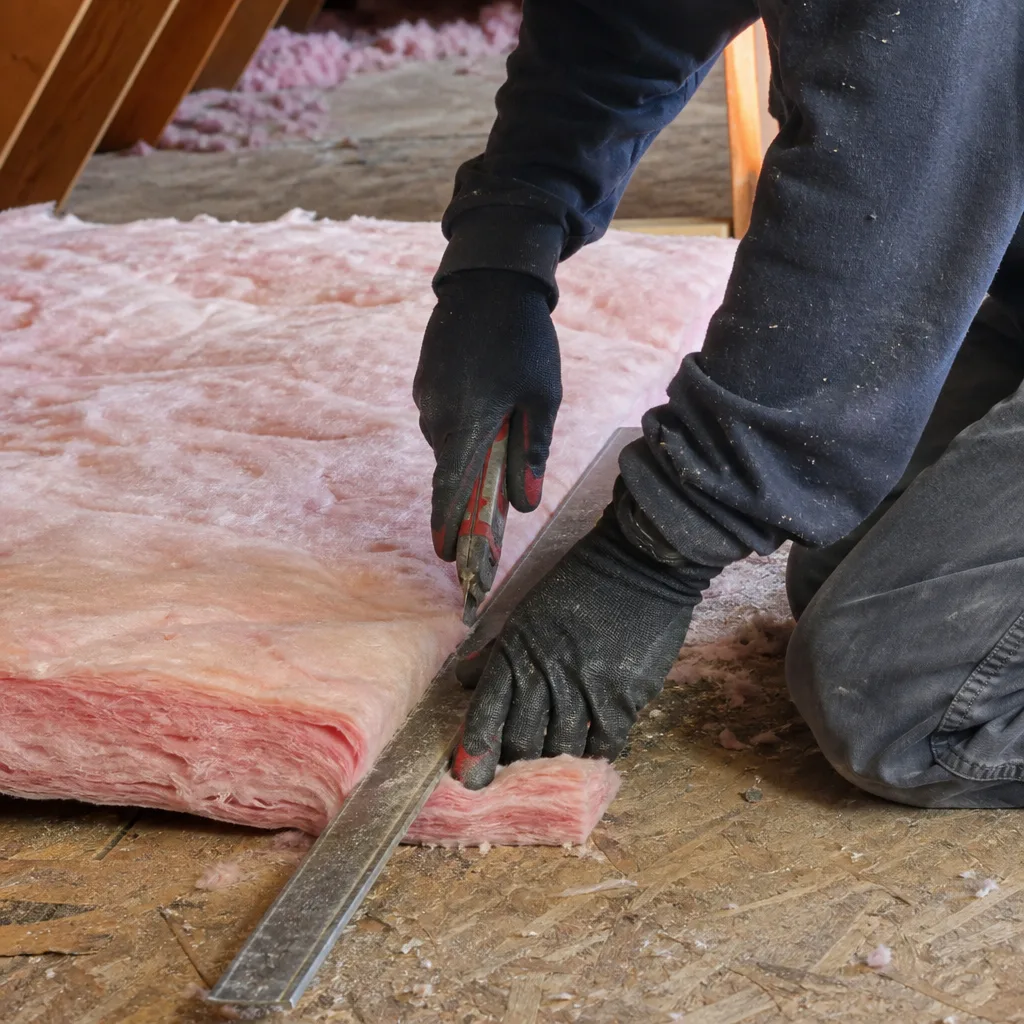
- Record material type and condition. Cellulose (gray, fibrous, paper-based) settles differently than fiberglass (pink, yellow, or white, glass-fiber). Rockwool (dense, gray, mineral fiber) settles least but is uncommon in pre-2000 Menlo Park homes. Note if the material is uniform, clumped, or mixed with debris.
- Apply the ENERGY STAR multiplier. The standard depth-to-R-value conversion for settled materials:
- Cellulose: R-3.2 to R-3.8 per inch (use R-3.5 for aged, settled material)
- Fiberglass loose-fill: R-2.2 to R-2.9 per inch (use R-2.5 for settled)
- Fiberglass batts: R-3.1 to R-3.7 per inch (use R-3.3 if compressed)
- Rockwool: R-3.0 to R-3.3 per inch
- Compare to target. For Menlo Park, located in California Climate Zone 3, the prescriptive code minimum for attic insulation is R-38 for new construction and R-30 for retrofits. However, given local energy costs and the prevalence of heat-pump conversions, we typically recommend R-49 for homes with electric heating or planned electrification. At R-3.5 per inch, cellulose needs 14 inches for R-49. At R-2.5 per inch, settled fiberglass needs 19.6 inches - a depth rarely achieved in older homes without topping off.
Example from a recent Menlo Park job: A homeowner in the Linfield Oaks neighborhood measured 8 inches of settled cellulose, calculating R-28. The original installation was likely 10-11 inches (R-35-38) when blown in 2008. Settling plus minor compression from a 2019 re-roof had reduced effective performance by roughly 20%. This homeowner’s PG&E bills had crept up 15% over three years; the measurement explained why.
Keep your depth readings in a notebook or phone note with the date. Next time you measure after a trigger event, you’ll have a baseline for comparison.
Three Moisture Indicators Specific to Menlo Park’s Marine Climate
Menlo Park’s climate is deceptive for attic moisture diagnosis. With only 16 inches of annual rainfall and mild temperatures, homeowners assume moisture problems are rare. But the marine layer - that persistent Pacific fog that rolls through the Atherton gap and settles in the lower San Francisquito Creek watershed - creates condensation conditions that inland climates don’t experience. We’ve identified three specific indicators that appear in Menlo Park attics and nowhere else in the Bay Area with the same frequency.
Condensation on the attic hatch underside: This appears as bead moisture or, in chronic cases, mold spotting on the pull-down ladder or hatch frame. It happens when warm, moist marine air enters the attic through envelope leaks and contacts the cooler hatch surface, which is typically uninsulated or poorly insulated. In Menlo Park’s August-September pattern, when nighttime temperatures drop into the 50s while daytime humidity remains elevated, this indicator peaks. If you see condensation here, you have active air leakage from the conditioned space below - or worse, from the exterior through bypass paths. The fix isn’t a better hatch; it’s sealing the bypass.
Dark staining at rafter tails near the eaves: Look where the rafter ends extend beyond the exterior wall plane, visible from inside the attic at the eave line. In Menlo Park’s mature neighborhoods - the Willows, Suburban Park, the streets near Burgess Park - many homes have minimal roof overhangs with exposed rafter tails. When soffit vents are blocked by insulation or when wind-driven rain penetrates vent screens, moisture wicks along the grain of old-growth fir or redwood rafters. The staining appears as dark, longitudinal streaks 6-12 inches in from the eave. This is not roof leak damage; it’s ventilation failure combined with marine air infiltration. Left unaddressed, it progresses to rafter tail rot and eave sag.
Clumped cellulose near soffit vents: Healthy cellulose is fluffy and disperses when disturbed. When marine-layer moisture cycles through an attic - humid nights, warm days - cellulose near ventilation intakes absorbs and releases moisture repeatedly. The boric acid fire retardant in cellulose becomes slightly tacky, and fibers clump into dense, gray masses that no longer provide uniform R-value. In Menlo Park, we see this most in homes within a mile of the Bay or the creek corridor, where nighttime relative humidity regularly exceeds 85%. Clumped cellulose near soffits is a ventilation problem, not an insulation problem, but it destroys the insulation’s performance until corrected.
Each of these three indicators points to the same underlying condition: the attic is not properly isolated from exterior moisture sources, interior air leakage, or both. Addressing the insulation without fixing the moisture source is temporary at best.
What Proper Documentation Looks Like - And What to Keep on File
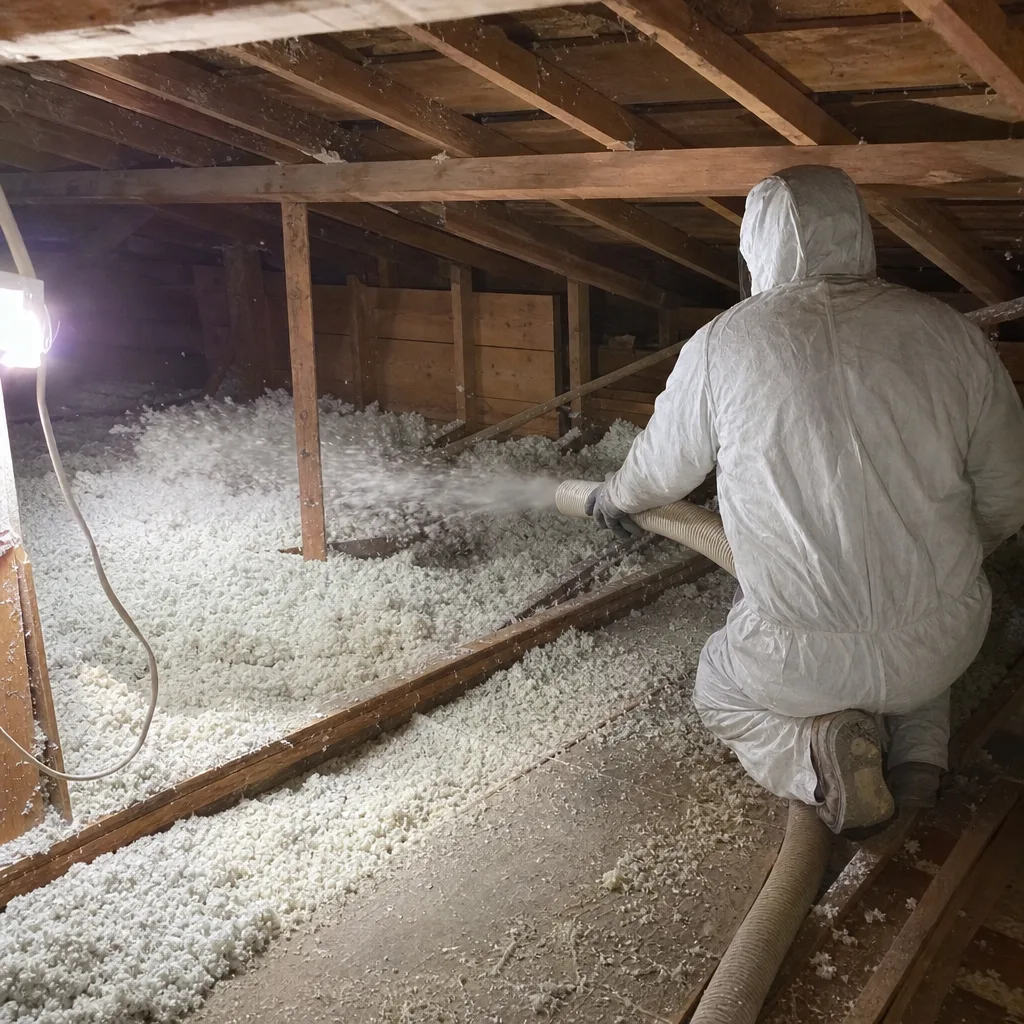
Most homeowners in Menlo Park have no record of what was originally installed in their attic, when it was installed, or who performed the work. This creates problems at resale, during insurance claims, and when evaluating whether to repair or replace. A properly documented insulation job - the standard we apply on every Topside Attic Insulation Menlo Park home project - leaves behind specific records that homeowners should request and retain.
Written depth map: This is a diagram of your attic floor plan showing insulation depth measurements at each point where the crew took a reading. It looks like a rough floor plan with numbers scattered across it: 14″, 11″, 9″, 15″, etc. The depth map reveals whether insulation was installed uniformly or whether thin spots exist above hallways, bathrooms, or kitchen soffits - the areas where crews often shortcut because access is tight. If you’re having work done, ask for this map before the crew leaves. If you’re evaluating existing insulation, draw your own during the measurement process we described above.
Pre- and post-blower-door readings: On any job that includes air sealing - which, under our standard, means every job - the blower-door test provides a single-number summary of envelope leakage. The test pressurizes (or depressurizes) the house to 50 Pascals and measures airflow in cubic feet per minute, or CFM50. A typical 1970s Menlo Park ranch might read 4,500 CFM50 before work and 2,800 after comprehensive air sealing and insulation. That difference - 1,700 CFM50 - represents conditioned air you’re no longer losing. We publish these numbers on every applicable job because they’re verifiable, comparable, and immune to marketing language. If a contractor won’t provide them, ask why.
Photo log: A documented photo record shows condition before work, critical details during (top plates sealed, can lights boxed, baffles installed), and final depth verification after. This isn’t for social media; it’s for warranty claims, insurance documentation, and future maintenance reference. When we complete attic insulation in Menlo Park, the homeowner receives a link to a private gallery. If you’re hiring any contractor, specify that you want photos of: the attic before disturbance, any air sealing work in progress, insulation depth at completion, and the blower-door test setup.
Written scope and warranty: Under Haven Standard Clause 1, every job gets a flat price, written scope, and written warranty before anyone lifts a tool. The scope specifies material type (Owens Corning, Johns Manville, Knauf, or other manufacturer), target R-value, air sealing details, and completion criteria. The warranty specifies duration, coverage, and the process for claims. Keep these with your home records; they’re required for manufacturer warranty registration and essential for disclosure at sale.
For insurance purposes, this documentation proves that insulation was maintained to professional standard, not neglected. In Menlo Park’s active real estate market, where disclosure requirements are strict, having dated records of envelope improvements can accelerate transactions and justify pricing.
Maintenance Actions That Void Manufacturer Warranties
Homeowners performing their own attic maintenance - or hiring handymen rather than envelope specialists - often void insulation warranties without realizing it. The major manufacturers (Owens Corning, Johns Manville, Knauf, Rockwool, and others) have specific installation and modification requirements that govern warranty coverage. These are the most common violations we encounter in Menlo Park homes.
Compressing batts: Fiberglass and mineral wool batts achieve their rated R-value through loft - the trapped air between fibers. When you store holiday decorations on batt insulation, walk repeatedly across it, or place plywood walking boards directly on batts without spacers, you compress the material permanently. Owens Corning’s limited warranty for fiberglass batts explicitly excludes “damage caused by compression beyond product design limits.” Once a batt is compressed to less than 75% of its labeled thickness, its thermal performance is degraded and warranty coverage is voided. If you need storage in your attic, install raised plywood platforms on 2×4 spacers that clear the insulation surface by at least 2 inches.
Adding incompatible materials on top of existing insulation: This is the most common DIY error. Homeowners buy rolls of fiberglass batt and lay them perpendicular across existing loose-fill cellulose, or vice versa. The problem is moisture management: cellulose is hygroscopic (it absorbs and releases moisture), while fiberglass is hydrophobic (it repels moisture). When layered, moisture can become trapped at the interface, accelerating degradation of both materials. Johns Manville’s loose-fill fiberglass warranty states that “installation over or under dissimilar insulation materials voids coverage for moisture-related performance degradation.” The correct approach is to match material type when topping off, or remove existing material before installing a different type.
Installing without proper ventilation: All major manufacturers require that insulation be installed in accordance with code ventilation requirements - typically 1 square foot of net free vent area per 150 square feet of attic floor, or per 300 square feet with balanced soffit and ridge ventilation. Blocking soffit vents with insulation, removing existing vents, or installing insulation in unvented assemblies without proper moisture management voids warranty coverage for any moisture-related claim. In Menlo Park’s marine climate, this is especially consequential.
Air sealing omission: While not all manufacturer warranties explicitly require air sealing, many now include language about “installation in accordance with best practices for building envelope performance.” Adding insulation over unsealed top plates, electrical penetrations, and plumbing stacks - which we see constantly in Menlo Park’s older housing stock - creates conditions that manufacturers increasingly view as installation defects. The warranty may not be formally voided, but claims will be denied on the basis of improper installation conditions.
Why Topping Off Without Air Sealing First Is Money Poorly Spent
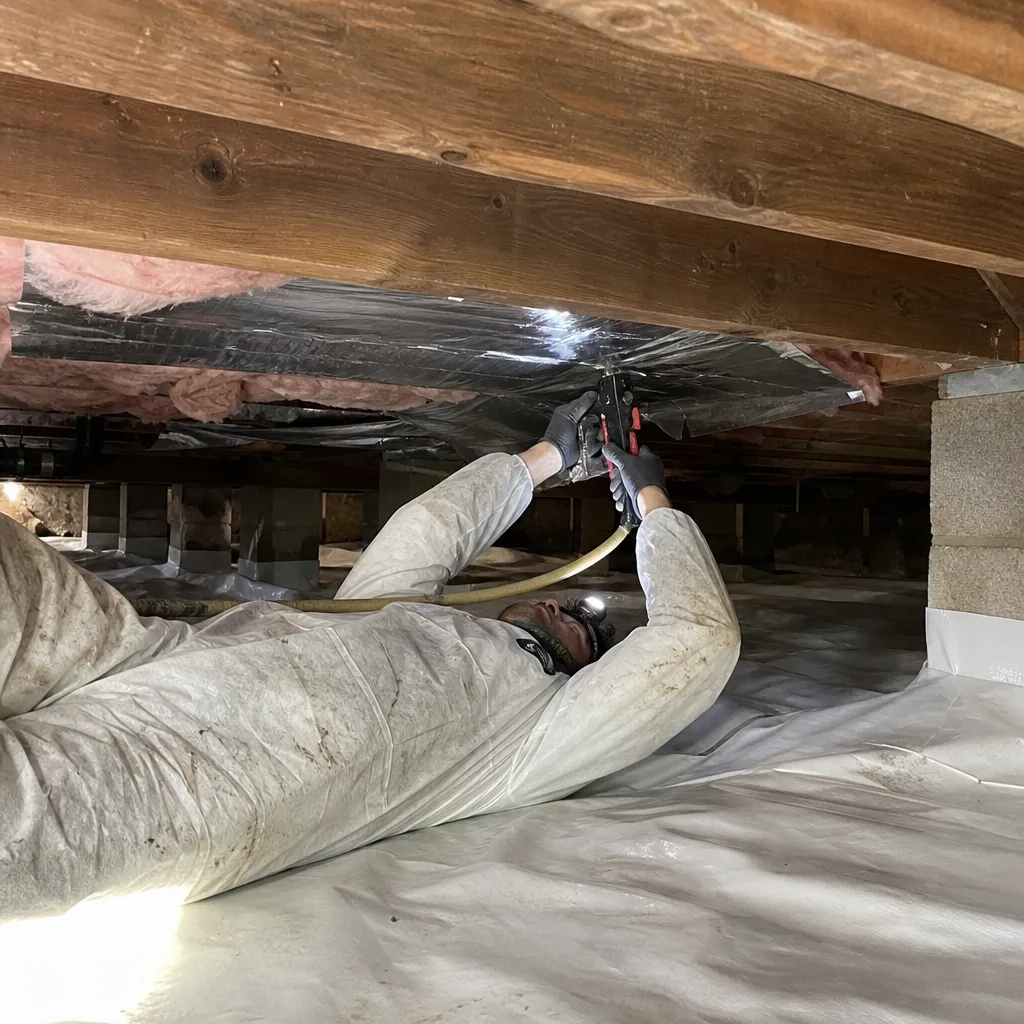
This is the core principle that defines our work at Envelope Insulation Co., and it’s the most expensive mistake we correct in Menlo Park attics. A homeowner receives a quote for R-19 fiberglass batts over existing R-19, achieving a theoretical R-38. The price is attractive. The installation is quick. The result is nearly worthless.
Here’s why. In a typical Menlo Park home built between 1950 and 1980 - which describes most of the housing stock from the Willows to Sharon Heights - the attic floor is penetrated by dozens of air leakage paths. Top plates (the horizontal framing member where wall studs meet the ceiling) are rarely sealed. Electrical boxes for ceiling fixtures are open to the attic. Plumbing vent stacks pass through with gaps. Recessed can lights are either unsealed or improperly sealed with flammable materials. Bathroom exhaust fans discharge into the attic rather than through ductwork to exterior. The cumulative effect is a chimney effect: warm, conditioned air rises through these leaks, bypasses the insulation entirely by traveling through the joist cavities, and escapes through ridge vents or other high openings.
Adding insulation on top of this leaky floor doesn’t stop the bypass. It buries the leaks under more material, making them harder to find and fix later, while the conditioned air continues its escape route through the framing cavities. We’ve removed insulation installations less than three years old where the homeowner’s energy bills never improved, because the real problem was never addressed.
The correct sequence, which we apply on every spray foam insulation in Menlo Park and every loose-fill job, is:
- Expose the attic floor by moving or removing existing insulation as needed
- Seal all top plates with fire-rated caulk or foam
- Box or seal recessed can lights with rated enclosures
- Seal electrical and plumbing penetrations
- Verify bathroom fan ducting terminates at exterior, not in attic
- Install baffles at all soffit vents to maintain ventilation path
- Perform blower-door test to quantify leakage reduction
- Install insulation to specified depth, verified with depth map
- Perform final blower-door test and document improvement
The cost difference is 30-50% higher upfront. The performance difference is measurable, documented, and permanent. In our experience across 9,000+ homes since 2016, the payback period for proper air sealing plus insulation versus insulation alone ranges from 3 to 7 years in Menlo Park’s climate and rate structure - and that’s before accounting for heat-pump efficiency gains, which degrade rapidly in leaky homes.
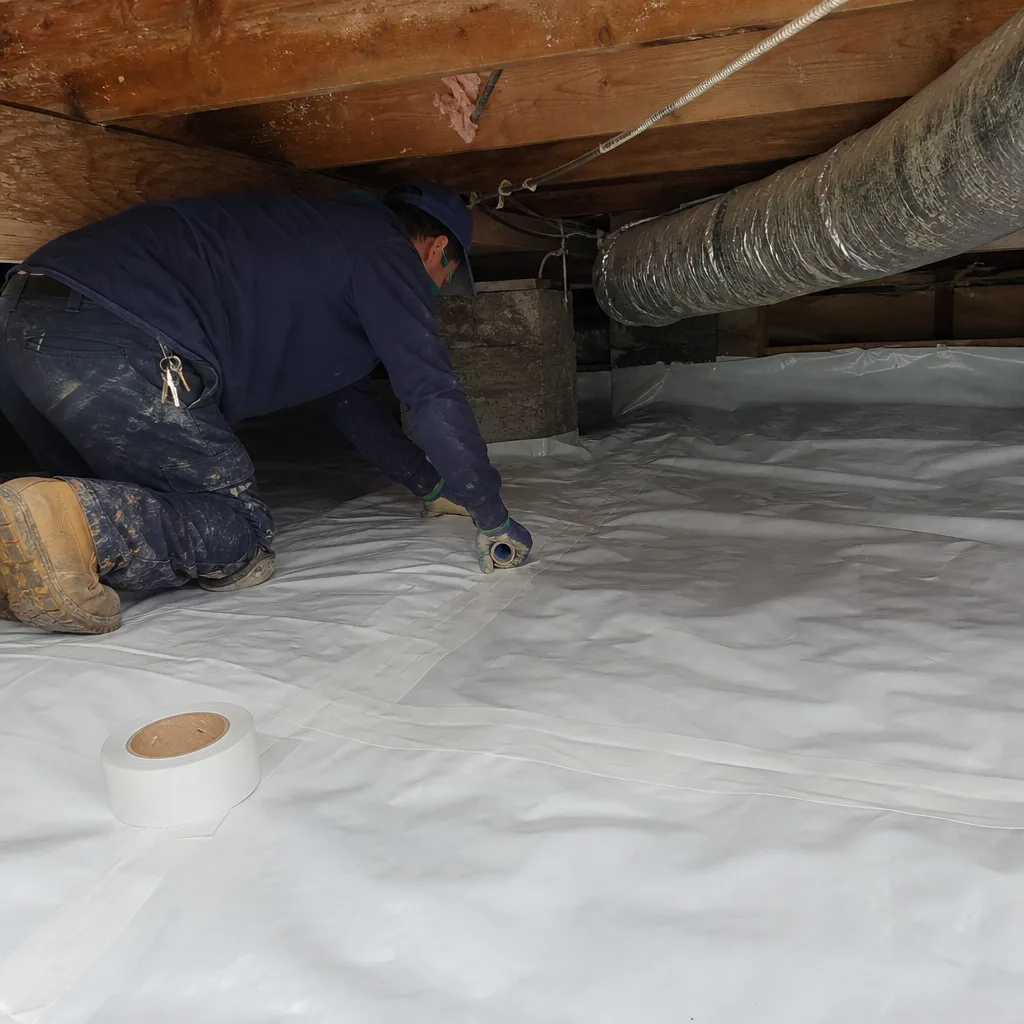
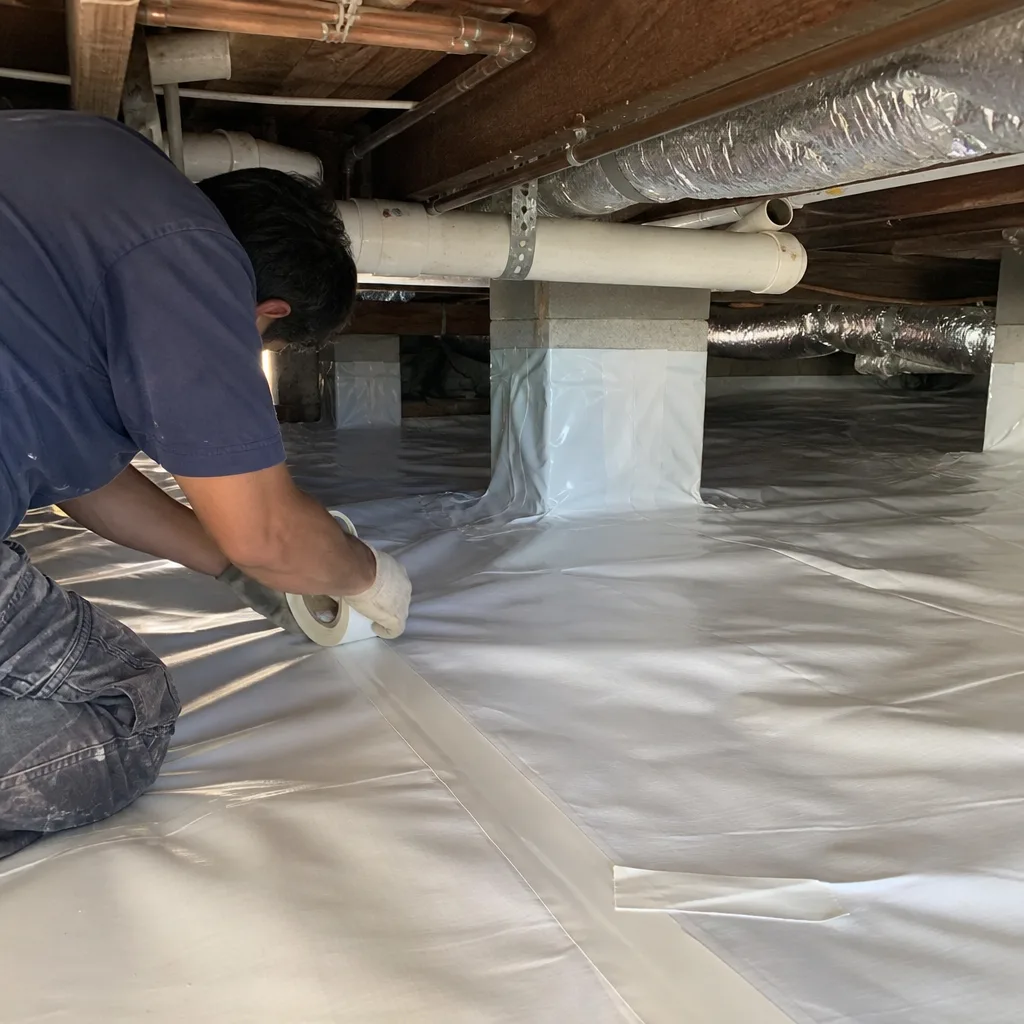
We’ve also applied this sequence to crawl space encapsulation and vapor barrier in Menlo Park jobs, where the same principle applies: seal the envelope, then condition the space. The order is not negotiable.
A Simplified Annual Walk-Through for Menlo Park Homes
Between trigger events, a 20-minute annual inspection prevents small problems from becoming expensive ones. We recommend scheduling this for late October, before the rainy season and after the summer cooling load has stressed your envelope.
- From the hallway below: Open the attic hatch and observe before entering. Is there condensation on the hatch underside? Any debris or insulation fragments falling? Note the hatch’s fit and seal condition.
- At the hatch: Measure insulation depth within 3 feet of the hatch - this is your accessible benchmark. Compare to previous years’ readings.
- At the eaves: With flashlight, verify baffles are in place and soffit vents are unobstructed. Look for the three moisture indicators: staining at rafter tails, clumped insulation, wet spots.
- At penetrations: Check around plumbing stacks, chimneys, and any HVAC ductwork for gaps, disconnected ducts, or new penetrations from prior work.
- At the ridge: Look for daylight through ridge vent slot - it should be uniform. Any blockage or damage indicates ventilation compromise.
- Documentation: Record depth readings, note any changes, photograph concerns. Date everything.
If this walk-through reveals settled depth below R-30, moisture indicators, or air leakage signs, it’s time for professional evaluation. Not sure whether to tackle it yourself? Read DIY vs Professional Insulation: The Menlo Park Homeowner’s Decision Guide first. The inspection itself costs nothing but your time, and it provides the documentation baseline that makes any future work more precise and accountable.
Common Mistakes to Avoid
- Assuming insulation lasts 20-30 years without inspection. Material lifespan is irrelevant if mechanical events degrade it in year three. We’ve replaced insulation in 8-year-old Menlo Park homes that was ruined by a single roof leak and subsequent mold remediation.
- Measuring only at the attic hatch. This is the most accessible point and often the most disturbed. Depth here is typically 15-20% lower than field average due to foot traffic and air leakage. Measure in a grid pattern for accurate assessment.
- Ignoring soffit vent blockage. In Menlo Park’s leafy neighborhoods, soffit screens clog with pollen, dust, and debris. Blocked soffits create moisture problems that insulation cannot solve, yet homeowners blame the insulation first.
- Adding vapor barriers on the wrong side. In our marine climate, vapor barriers belong on the warm side of the assembly - which, for air-conditioned homes, can mean the attic side in summer. Misplaced polyethylene sheeting traps moisture and accelerates degradation. Most Menlo Park homes don’t need attic vapor barriers at all if the envelope is properly air sealed.
- Hiring based on price per square foot alone. This metric ignores air sealing, material quality, depth verification, and documentation. A lower price per square foot often means higher cost per unit of actual thermal performance delivered.
- Neglecting to request blower-door documentation. Without before-and-after pressurization readings, you have no verification that air sealing was performed or effective. Demand this documentation; it’s standard on any professional job that includes envelope work.
- Storing items directly on insulation. Compression voids warranties, reduces R-value, and creates uneven thermal performance. Raised storage platforms are inexpensive and protect your investment.
When to Call a Professional
Call a professional when your annual inspection reveals settled depth below R-30, any moisture indicator present, or air leakage you cannot trace to its source. Call when you’re planning any work that disturbs the attic - roof replacement, HVAC upgrade, solar installation - because sequencing matters and envelope work should precede or accompany these projects, not follow them. Call when you’re buying a home in Menlo Park and the seller has no documentation of attic work; a pre-purchase energy assessment with blower-door testing reveals what visual inspection cannot.
Topside Attic Insulation Menlo Park offers free estimates in Menlo Park - call (510) 876-4113. Every estimate includes a written scope, flat price, and explanation of what documentation you’ll receive. Under Haven Standard, no work starts without your written approval, and every completed job carries our 365-Day Done Right Promise.
Frequently Asked Questions
Most attic insulation jobs in a Menlo Park home of 1,500-2,500 square feet run between $2,800 and $6,500 for loose-fill cellulose or fiberglass with comprehensive air sealing, depending on existing conditions and target R-value. Spray foam applications range higher, typically $4,500-$9,000 for the same footprint, due to material cost and labor intensity. These ranges include air sealing, baffle installation, depth verification, and documentation - not insulation alone. Call (510) 876-4113 for a written estimate specific to your home; estimates are free and include a documented inspection.
Check after specific trigger events - roof work, pest treatment, HVAC servicing, or wind above 50 mph - rather than on a calendar schedule. Perform a brief annual inspection each October before the rainy season. Menlo Park’s marine climate means moisture indicators can develop within a single season of ventilation compromise, so event-triggered inspection catches problems faster than quarterly or annual schedules alone.
You can add like material on like material - cellulose on cellulose, fiberglass on fiberglass - if the existing material is dry, uncontaminated, and uncompressed. You cannot add incompatible materials (fiberglass batts over loose-fill cellulose) without voiding manufacturer warranties and creating moisture traps. More importantly, you should never add any insulation over an unsealed attic floor; the new material will bury air leaks without fixing them, wasting money and making future sealing more expensive. Air seal first, then insulate.
California Energy Code requires R-38 for new construction and R-30 for retrofits in Climate Zone 3, which includes Menlo Park. We recommend R-49 for homes with electric heat pumps or planned electrification, given the higher efficiency gains from reduced heat loss. At current PG&E rates, the incremental cost of R-49 versus R-38 typically pays back in 4-6 years for homes with significant heating degree hours.
Moisture in Menlo Park attics typically comes from air leakage, not roof leaks. Warm, humid interior air escapes through ceiling penetrations and condenses on cold roof sheathing during marine-layer nights. Alternatively, blocked soffit vents allow humid exterior air to stagnate against insulation. Both conditions are ventilation and air-sealing problems, not roofing problems, and both require envelope work rather than insulation replacement alone.
Every job includes: written scope and flat price before work starts (Haven Standard Clause 1); air sealing of top plates, penetrations, and accessible leaks; baffle installation at soffit vents; insulation to specified depth with depth-map verification; before-and-after blower-door readings on applicable jobs; documented photo record; and written warranty with 365-Day Done Right Promise coverage. Materials are sourced from Owens Corning, Johns Manville, Knauf, Rockwool, and other major manufacturers - no proprietary lock-in. Call (510) 876-4113 to schedule an estimate.
The Bottom Line
Attic insulation maintenance in Menlo Park is not a calendar exercise. It’s an event-response discipline: inspect after roof work, pest treatment, HVAC service, and high-wind storms; measure settled depth with a ruler and the ENERGY STAR chart; watch for marine-climate moisture indicators at the hatch, eaves, and soffits; and maintain documentation of any professional work for warranty and resale value. Never compress batts, never layer incompatible materials, and never add insulation without air sealing first - these are the most common and most expensive errors we correct. The performance you paid for is verifiable: in depth measurements, in blower-door readings, and in the documentation you keep on file.
Written by Wes Okafor, Owner at Topside Attic Insulation Menlo Park, serving Menlo Park since 2016.