
Last updated September 24, 2026
DIY vs Professional Insulation: The Menlo Park Homeowner’s Decision Guide
Most Menlo Park homeowners who call us after a DIY insulation project start with the same sentence: “I added six inches of cellulose, but my PG&E bill didn’t change.” The reason is almost always the same. They measured depth, not performance. A blower-door test - a pressurization reading that shows, in one number, how much air your building envelope is losing - would have revealed that the attic floor still leaked at the top plates, can lights, and chimney chase. The new insulation simply buried the problem. In this guide, we’ll show you exactly which insulation projects a competent homeowner can complete in Menlo Park, which require trade knowledge and diagnostic equipment, and how to read a professional quote to know whether you’re paying for performance or just product. For more guides & resources, see our blog.
Quick Answer
DIY insulation in Menlo Park makes sense for one task: adding loose-fill cellulose or fiberglass above existing R-19 insulation in an accessible attic with no moisture history, no recessed lights, and no penetrations. Every other scenario - air sealing, spray foam, wall insulation, crawl space work, or any project requiring Title 24 compliance - needs a professional with a blower-door test, HERS rater certification, and documented deliverables. The cost difference narrows once you factor in equipment rental, safety gear, HERS testing, and the tax credit documentation only a contractor can provide.
Table of Contents
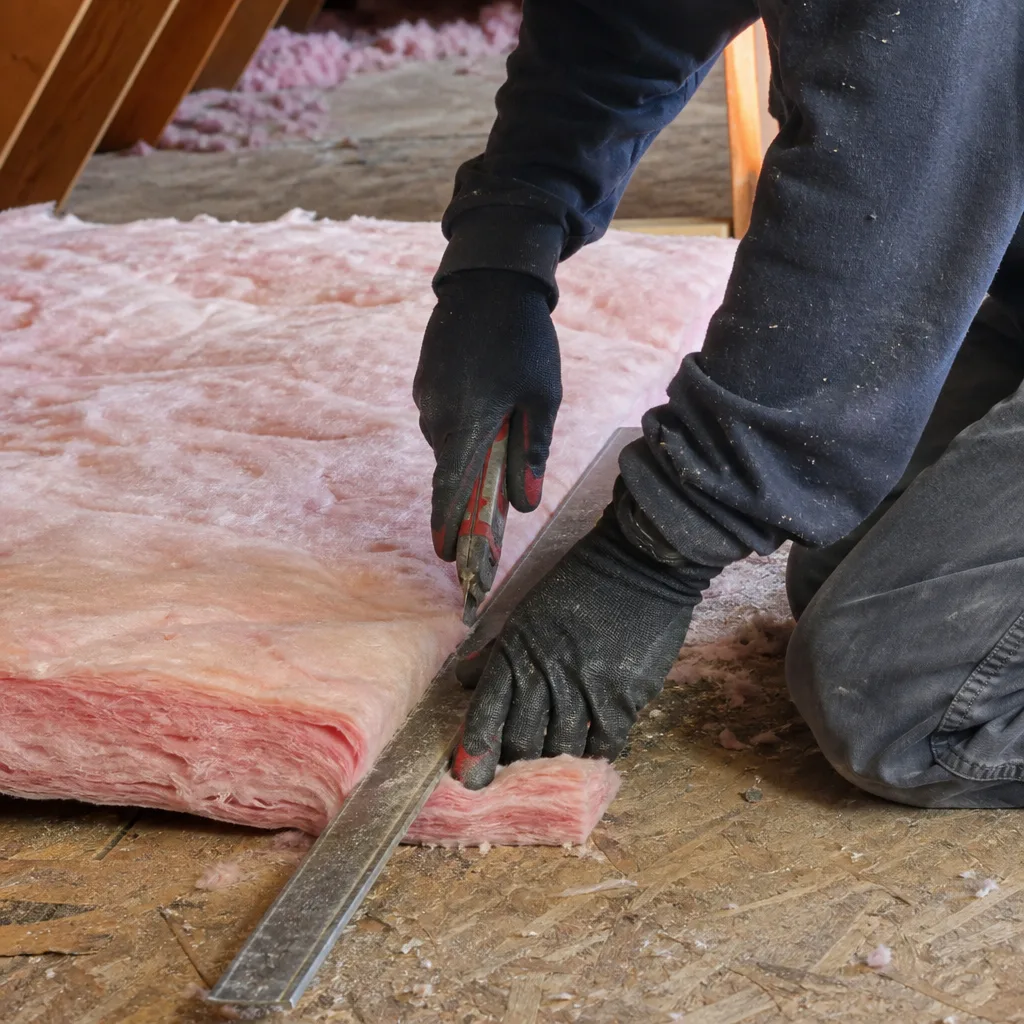
- What DIY Insulation Actually Looks Like in Menlo Park
- The Equipment Reality Check: What You Actually Need
- California Title 24 Compliance: The Documentation Gap
- The Real DIY Cost for a 1,200 Sq Ft Menlo Park Attic
- Three Project Types Where DIY Creates Legal Exposure
- How to Read a Professional Quote Like a Building Scientist
- When DIY Works (And When It Backfires)
- Common Mistakes to Avoid
- When to Call a Professional
- Frequently Asked Questions
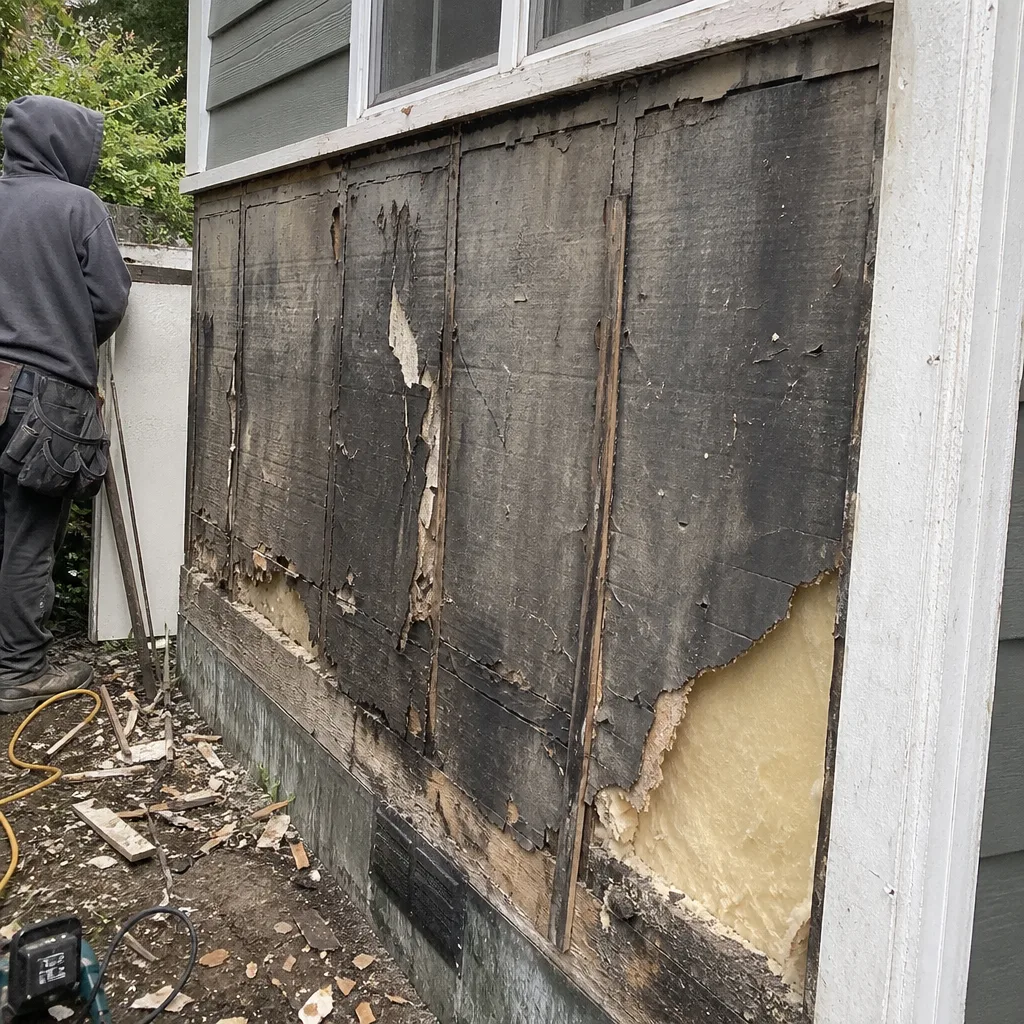 Before
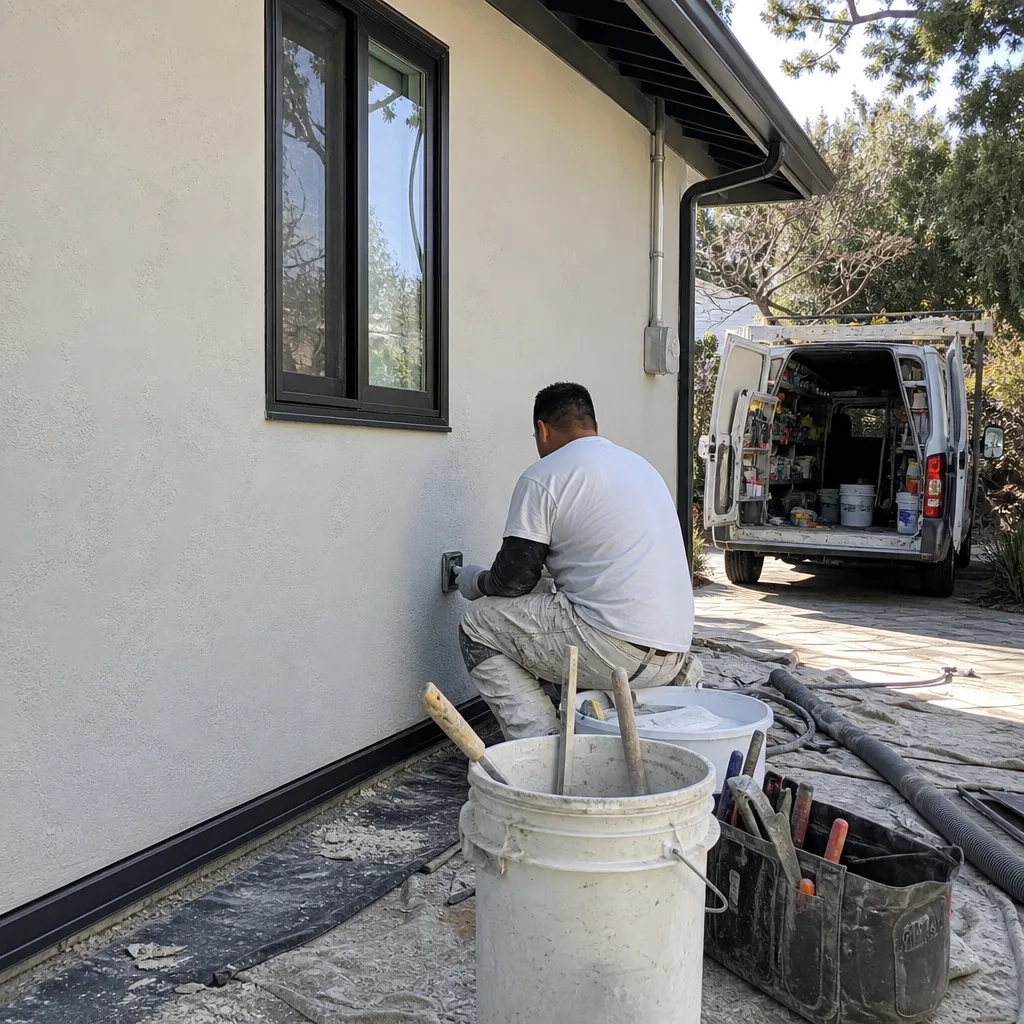 After
AfterWhat DIY Insulation Actually Looks Like in Menlo Park
Let’s be specific about what a homeowner can realistically accomplish. In our experience across 9,000+ homes since 2016, there’s exactly one DIY insulation scenario that produces measurable results without specialized training: topping off existing loose-fill insulation in an uncomplicated attic.
“Uncomplicated” means all of the following are true:
- The attic has permanent flooring or clear joist walking paths, with no cathedral ceilings or dormers creating inaccessible valleys
- Existing insulation is dry, uncontaminated, and uniformly distributed above R-19 (if it’s below R-19, you’re not topping off - you’re replacing, which changes the scope entirely)
- No recessed can lights, no chimney chases, no plumbing vents, no HVAC duct penetrations, and no open-top walls (top plates) visible from the attic side
- No signs of rodent activity, moisture staining, or mold - Menlo Park’s marine climate means attics near the bay or in the Willows neighborhood can develop condensation issues that simple added insulation will worsen
- The attic access is large enough to maneuver a rental blower hose without damaging drywall
That’s the complete list. If any item is false, the project crosses from “home improvement” into “building envelope modification,” and the sequence of operations becomes critical. Here’s why: insulation doesn’t stop air movement. It slows conductive heat transfer. If you blow cellulose over an unsealed top plate - the horizontal framing member where interior walls meet the ceiling - conditioned air from your living space continues to escape into the attic. The cellulose simply hides the leak. In summer, when Menlo Park’s afternoon temperatures climb into the 80s and your attic hits 140°F, that escaping conditioned air is replaced by hot, humid infiltration from outside. Your measured R-value went up. Your actual performance didn’t change.
We’ve seen this exact scenario in the Linfield Oaks neighborhood, where 1950s ranch homes with original R-11 batts attract well-meaning homeowners to the home center. They rent the blower, buy 30 bags of GreenFiber cellulose, and spend a Saturday distributing it evenly. The result looks professional. The blower-door test we conduct the following week tells a different story: 3,800 CFM50 before, 3,600 CFM50 after. They moved the needle 5%. For reference, our standard air sealing plus insulation package in similar homes typically achieves 40-55% reduction.
The product instructions on the bag don’t mention top plates. The YouTube tutorials rarely show a blower-door test. The gap between “installed correctly” and “performed correctly” is where most DIY insulation fails.
The Equipment Reality Check: What You Actually Need
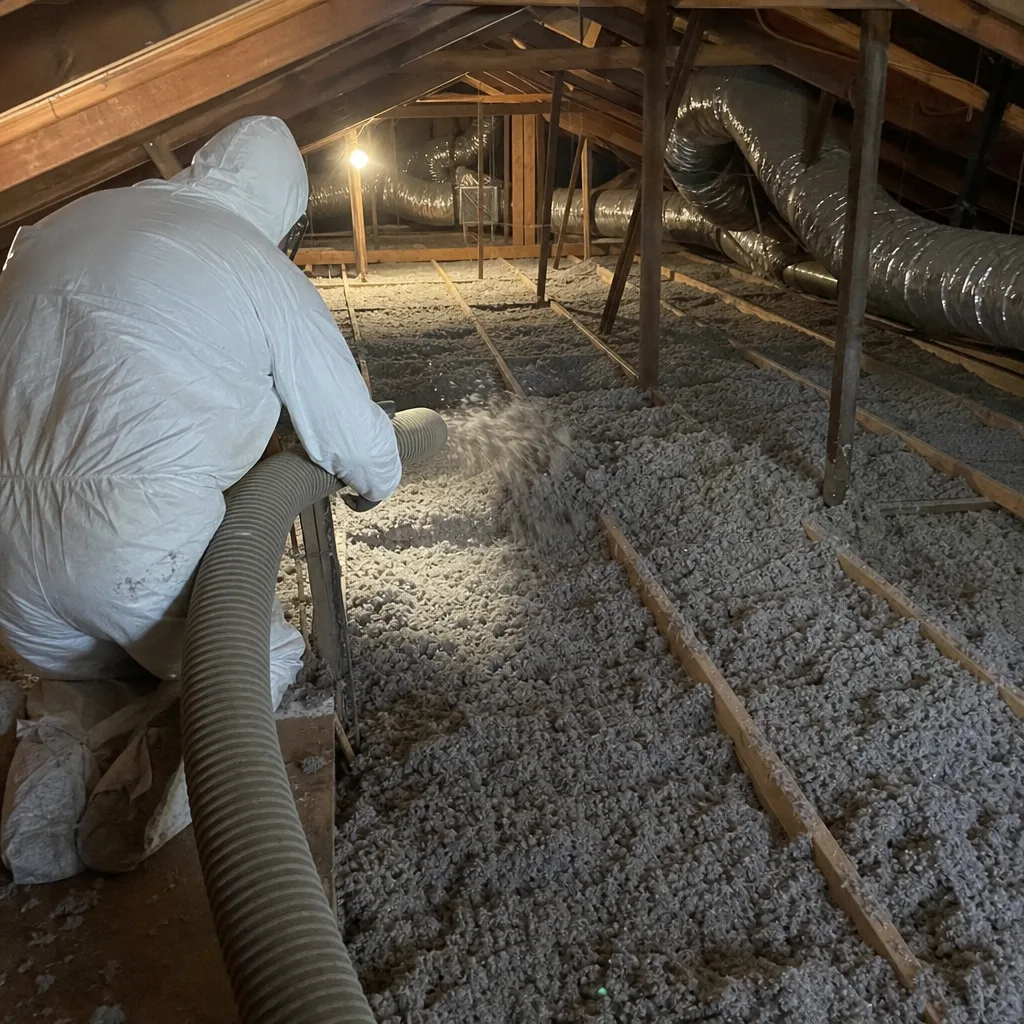
Home centers in the Peninsula area rent insulation blowers for $75-$100 per day. That’s the visible cost. The full equipment list for a DIY project that approaches professional results is longer, and some items aren’t available for rental.
For the installation itself:
- Insulation blower with enough hose length to reach all attic corners without kinking
- Depth rulers calibrated to the installed material’s settled density - not the flimsy cardboard strips that come with the blower, but rulers marked for the specific product’s R-value per inch (cellulose settles; fiberglass doesn’t; the ruler must match the material)
- Commercial-grade N95 respirators, not dust masks - cellulose dust is treated with borate flame retardant, and fiberglass particles are respirable
- Tyvek suit with hood, sealed at wrists and ankles; goggles with indirect ventilation (not safety glasses - the dust is fine enough to get around frames)
- LED headlamp with 500+ lumens, plus portable work lights for eave areas
- Walk boards or plywood strips to distribute weight across joists - Menlo Park homes from the 1960s and 1970s often have 2×6 joists on 24-inch centers, which will crack under concentrated load
For verification (the part almost every DIYer skips):
- Blower-door test kit - available from some Bay Area tool libraries, but requires training to operate without damaging your home’s pressure envelope
- Infrared camera to locate thermal bypasses - rental $150-$250/day, but interpreting the images requires understanding of emissivity, reflected temperature, and delta-T conditions
- Manometer or digital pressure gauge to verify that exhaust fans and combustion appliances still draft correctly after air sealing (critical for safety)
Here’s the equipment gap that matters most: even if you rent a blower door and teach yourself to operate it, you cannot use that result for Title 24 compliance. California requires HERS rater certification - a third-party credential from an accredited provider - for the blower-door test to count toward permit documentation. The test itself costs $300-$500 in Menlo Park, and the rater won’t consult on your installation quality; they’ll only document what they find.
So the realistic equipment picture is: rental blower plus safety gear plus independent HERS testing, with no diagnostic guidance between those two points. You’re flying blind on whether the work actually worked until you pay for the test that tells you, after the fact, whether to tear it out and start over.
California Title 24 Compliance: The Documentation Gap
Menlo Park falls under California’s Title 24 Building Energy Efficiency Standards, and the 2022 code cycle tightened requirements for insulation alterations. See Insulation Permits, Codes & Inspections in CA: What You Need to Know for full details. If your project is part of a permitted alteration - adding square footage, replacing a roof, or any work requiring a building permit - your insulation work must be documented for HERS verification.
The documentation requirements are specific, and they’re where most DIY projects fail compliance:
- CF1R form - the Certificate of Compliance, generated from approved compliance software, showing the proposed insulation R-values, locations, and installation methods. Homeowners can complete this through online tools, but the prescriptive path has strict limits; performance paths require modeling software most homeowners don’t have.
- Depth verification photos - dated, geotagged images at minimum four locations per attic plane, showing the depth ruler adjacent to the installed material. The ruler must display the R-value equivalent, not just inches.
- Air sealing verification - for any project claiming the high-performance attic path, visual inspection of sealed top plates, can lights, and penetrations, plus a passing blower-door test result from a certified HERS rater.
- Insulation certificate - CF2R form, signed by the installer, attesting that materials and installation match the CF1R.
The critical point: on permitted work, the HERS rater conducts a field verification. If your DIY installation fails - gaps in coverage, compressed batts, unsealed penetrations - you don’t get a certificate of completion. The permit doesn’t close. In Menlo Park’s building department, that means no final inspection, no certificate of occupancy for the altered space, and potential issues when you sell.
We’ve reviewed DIY installations in the Sharon Heights area where homeowners completed beautiful-looking work, only to discover at the HERS verification that the depth varied from R-30 to R-49 across the attic due to uneven blowing. The correction required partial removal and reinstallation. The “savings” from DIY evaporated.
For unpermitted work - simply adding insulation to an existing attic without other alterations - Title 24 doesn’t require HERS verification. But the federal 25C tax credit does require contractor documentation. Which brings us to liability.
The Real DIY Cost for a 1,200 Sq Ft Menlo Park Attic
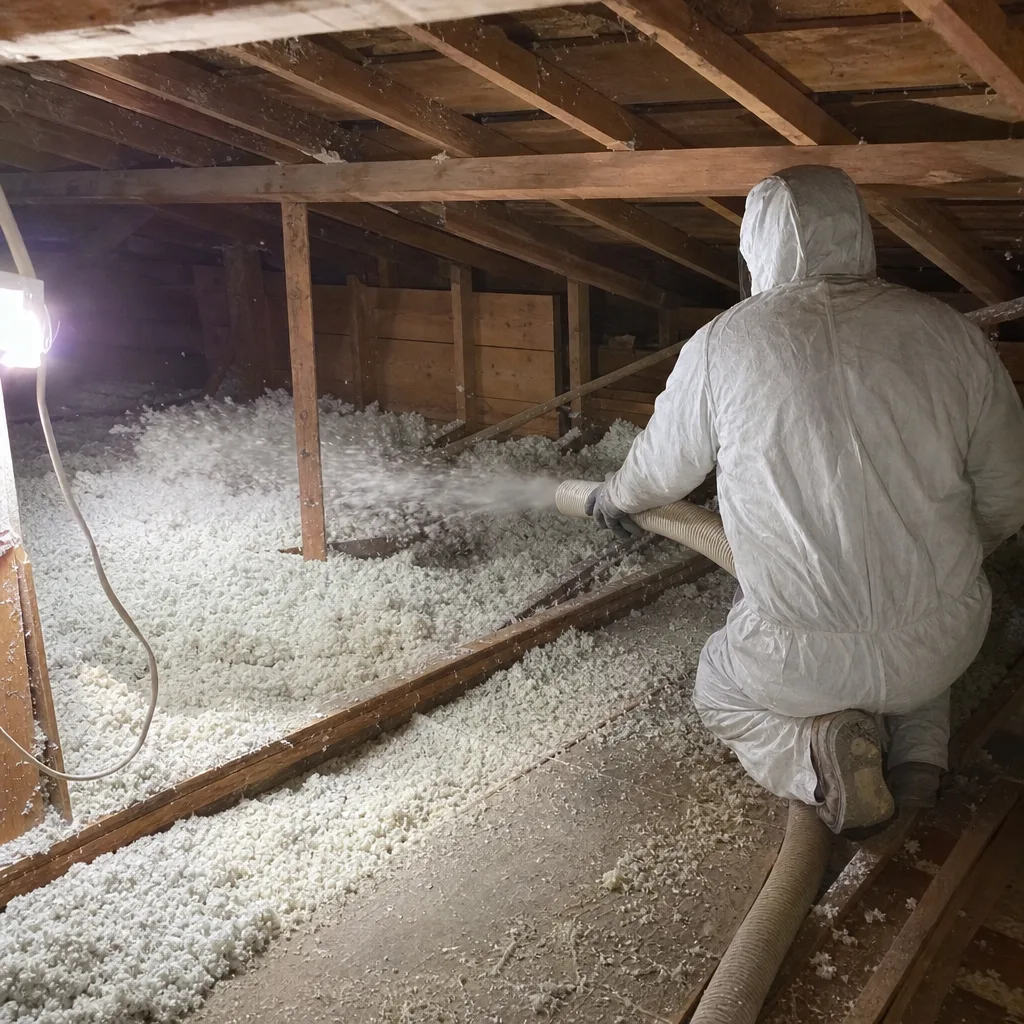
Let’s run the actual numbers for the one DIY scenario that makes sense: adding cellulose to bring an existing R-19 attic to R-49, the current Title 24 prescriptive requirement for Menlo Park’s climate zone (CEC Climate Zone 4, marine). For a complete Insulation Cost Breakdown: The Menlo Park Homeowner’s Reference for 2026, see our dedicated guide.
DIY cost breakdown:
- Cellulose insulation (GreenFiber, 30 lb bags): 45 bags at $12.50/bag = $562.50
- Insulation blower rental (2 days, including pickup/return): $180
- Safety equipment (N95 respirators, Tyvek suit, goggles, gloves): $85
- Depth rulers and measuring tools: $35
- Walk boards or plywood: $60 (or borrowed)
- Post-installation HERS blower-door test: $400 (required if you want to know whether it worked; optional if you’re willing to guess)
- DIY total with verification: $1,322.50
- DIY total without verification: $922.50 (but you won’t know if it worked)
Professional cost for equivalent scope:
At Topside Attic Insulation Menlo Park home, a typical attic insulation package for a 1,200 sq ft home includes: pre-installation blower-door test, air sealing of top plates and accessible penetrations, installation of Knauf or CertainTeed cellulose to R-49, post-installation blower-door test with published results, and full documentation. Most Menlo Park homes in this size range fall between $2,800 and $4,200, depending on accessibility and the extent of air sealing required.
The gap is $1,500-$2,900. For that premium, you receive:
- Air sealing that the DIY scope excluded entirely - typically the largest single performance improvement
- Pre- and post-blower-door numbers in writing, so you know exactly what changed
- HERS-ready documentation if the work is part of a permitted project
- 25C tax credit documentation (up to $1,200 annual credit for qualified energy efficiency improvements)
- 365-Day Done Right Promise with written warranty
- No weekend lost to attic work
Factor in the tax credit, and the net difference for a qualifying homeowner shrinks to $300-$1,700. The question becomes whether your weekend and the risk of redoing the work is worth that spread.
Three Project Types Where DIY Creates Legal Exposure
Some insulation projects in Menlo Park carry risks beyond poor performance. Three specific scenarios create genuine liability for homeowners who DIY:
1. Pre-1980 homes without asbestos testing
Menlo Park’s housing stock includes significant construction from the 1950s through 1970s. Vermiculite insulation, often containing asbestos, was used in some homes from this era, particularly in the Belle Haven and Flood Park neighborhoods. Disturbing it without testing and abatement creates personal exposure liability and violates California OSHA regulations. Professional contractors are required to test before disturbing unknown insulation. Homeowners aren’t regulated the same way - until they sell, or until a family member develops illness, and the installation date becomes discoverable. The test costs $75-$150. Skipping it is not a savings.
2. Attic conversions that change the thermal boundary
Converting an attic to conditioned space - adding a bedroom, office, or ADU component - requires moving the thermal boundary from the attic floor to the roofline. This changes the building’s pressure envelope and typically requires spray foam or rigid insulation at the roof deck. DIY work here affects structural condensation risk, fire separation requirements, and ventilation calculations. Menlo Park’s building department requires engineered plans for these conversions. Unpermitted work must be disclosed in sale transactions and can trigger retroactive compliance requirements.
3. Federal 25C tax credit claims without contractor documentation
The Inflation Reduction Act’s 25C credit - up to $1,200 annually for energy efficiency improvements - requires “written certification from the manufacturer or contractor” that products and installation meet IRS requirements. DIY installations cannot produce this documentation. Claiming the credit without it exposes the homeowner to audit adjustment, with penalties and interest. The credit is claimed on Form 5695, and the IRS has indicated increased scrutiny of home improvement credits in 2024-2026.
How to Read a Professional Quote Like a Building Scientist
If the cost gap and liability risks push you toward professional installation, the next challenge is evaluating quotes. Most Menlo Park homeowners receive 2-3 estimates. Here’s what to look for - and what to reject - using the framework we apply at Attic Insulation in Menlo Park.
Three line items that justify a premium:
- Pre-installation air sealing with specified locations - not “air sealing included” but “seal top plates at all interior wall intersections, seal can light housings, seal chimney chase penetration, seal plumbing and electrical penetrations >1/4 inch.” Specificity means accountability. Vagueness means it probably won’t happen.
- Pre- and post-installation blower-door numbers in the contract deliverables - not “we test if needed” but “blower-door test conducted per ASTM E779, results provided in writing, target reduction 30% minimum.” This is the only way to verify that you’re paying for performance, not just product depth.
- Written warranty tied to installed performance, not installed depth - “warranted to R-49 at all measured locations” is weak; “warranted to achieve minimum 30% air leakage reduction with accompanying blower-door documentation” is strong. The first measures inputs. The second measures outcomes.
Red flags that suggest a product-centric, not performance-centric, contractor:
- Quote lists insulation type and depth only, with no air sealing component
- No mention of blower-door testing, or “available for additional fee” - testing should be standard on any envelope job
- “R-value per inch” used as the primary selling point, without discussion of air leakage
- Pressure to commit without a written scope - Haven Standard Clause 1 exists because this should never happen
- Proprietary product claims - “our special blend” or “exclusive system” - rather than specifying recognized materials like Rockwool, Knauf, or Icynene
At Envelope Insulation Co., every quote includes the three line items above, plus a Documented Photo Record, before any work begins. The written price is flat; the scope is fixed; the warranty is in writing. We’ve operated this way since 2016 because the alternative - vague quotes, variable outcomes, disputed results - wastes everyone’s time.
If you have a competing quote, we offer a Free Second Opinion. Bring it to us; we’ll read it with you and point out what’s specified, what’s assumed, and what’s missing.
When DIY Works (And When It Backfires)
Let’s be direct about where each path succeeds.
DIY is reasonable when:
- The attic is accessible, uncomplicated, and already performs reasonably well (blower-door result below 3,500 CFM50 for a home under 2,000 sq ft)
- You’re adding insulation only, not changing the thermal boundary
- No permit is required and no tax credit is being claimed
- You accept that you won’t have verified performance data, only verified depth
- The existing insulation is in good condition, with no moisture, rodent, or asbestos concerns
DIY backfires when:
- Air sealing is needed but skipped - which is most homes built before 2000 in Menlo Park
- The project reveals hidden conditions (water damage, knob-and-tube wiring, deteriorated ductwork) that require immediate professional intervention
- Insulation is added over unsealed recessed lights, creating fire hazard and violating electrical code
- Attic ventilation is inadvertently blocked, causing moisture accumulation - common in Menlo Park’s fog-prone microclimates near the bay
- The homeowner discovers, after installation, that the work doesn’t qualify for intended rebates or credits
We’ve responded to DIY backfires in the Suburban Park neighborhood, where a homeowner’s well-intentioned cellulose addition blocked soffit vents and created a condensation problem that required partial removal, mold remediation, and reinstallation. The total cost exceeded professional installation by $1,800.
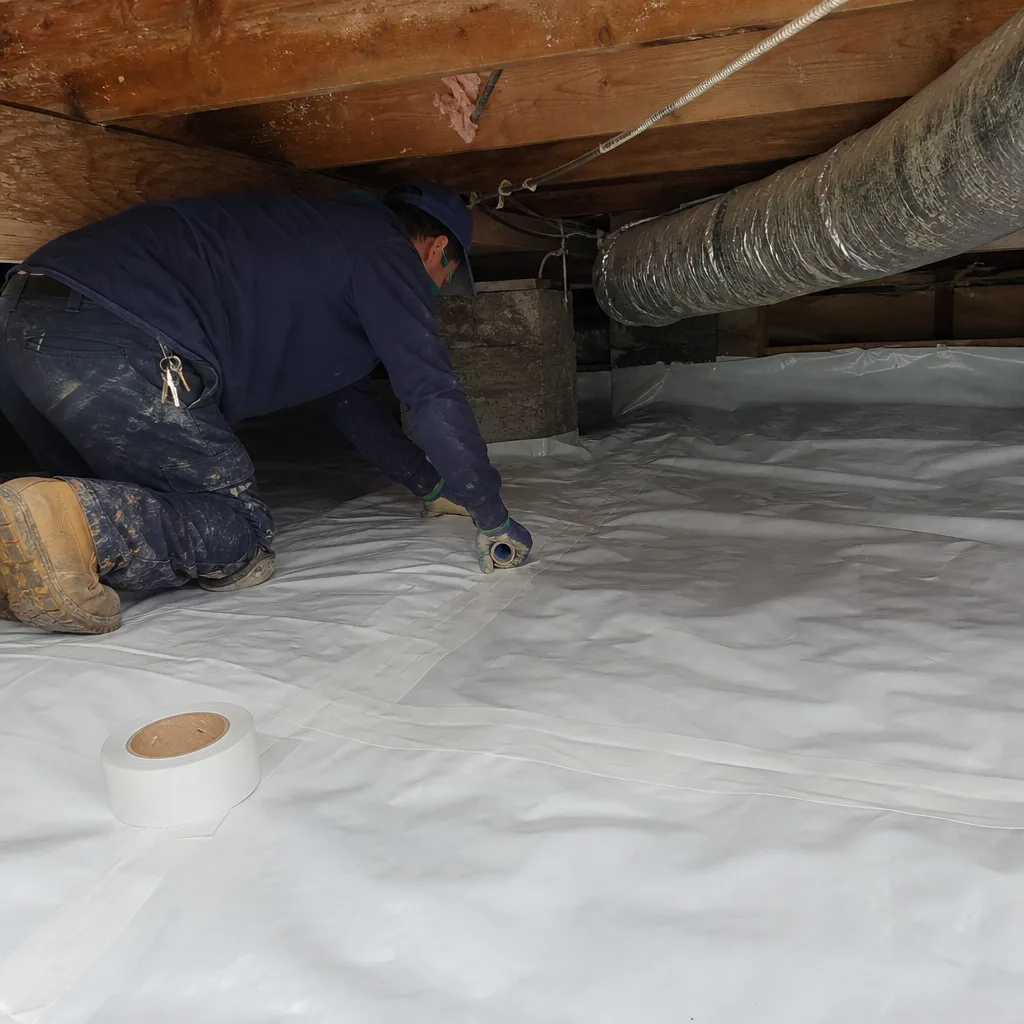
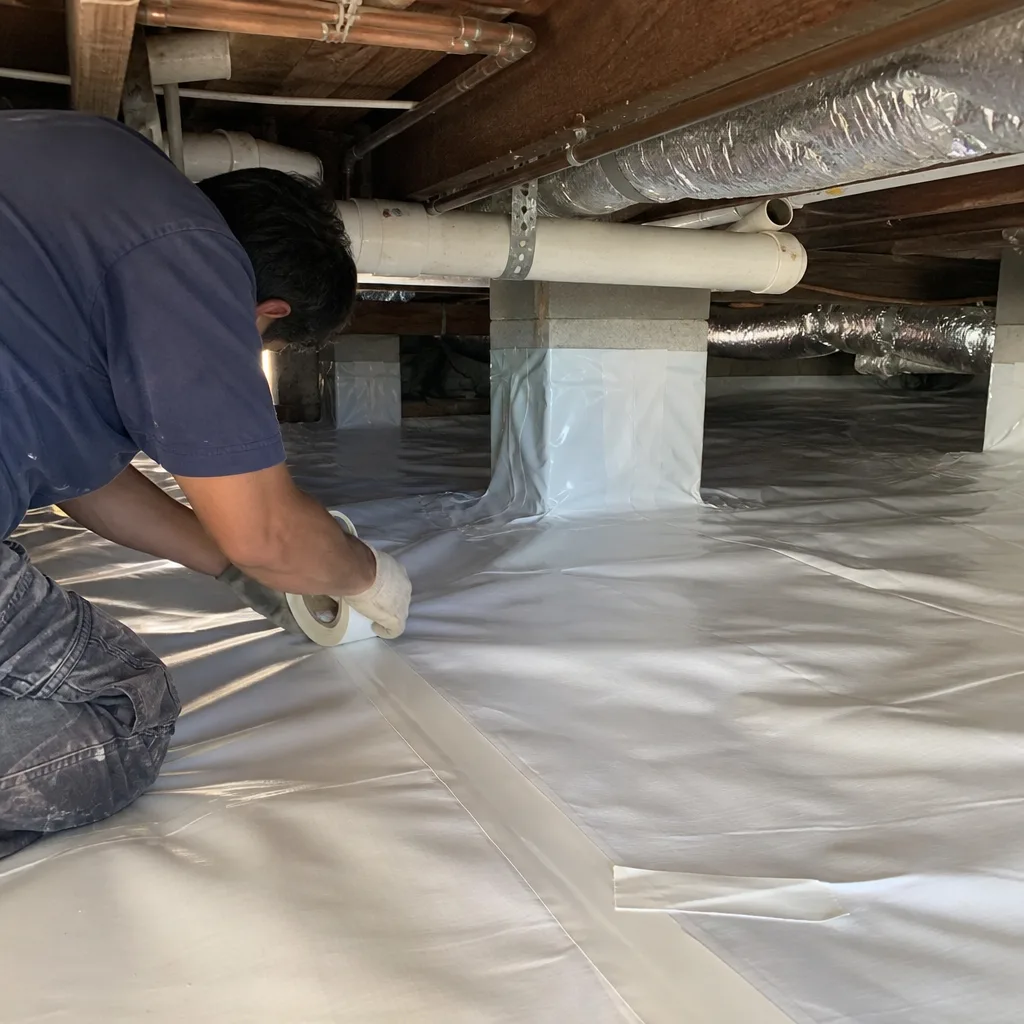
For crawl space work, the case against DIY is stronger. Crawl Space Encapsulation & Vapor Barrier in Menlo Park requires vapor barrier selection and sealing, often with dehumidification sizing, in a confined space with potential structural and pest concerns. The diagnostic equipment - moisture meters, infrared cameras, combustion safety testing - isn’t available for rental. The liability for moisture damage to structural elements is significant.
Spray foam is never a DIY product. Spray Foam Insulation in Menlo Park requires specialized rigs, respiratory protection beyond homeowner-grade equipment, and precise chemical ratio control. Off-ratio foam fails to cure, creating odor and health issues that require complete removal. The manufacturers - Icynene, Demilec, and others - certify installers specifically because application failure is catastrophic and expensive.
Common Mistakes to Avoid
- Blowing insulation over unsealed can lights. Non-IC (insulation contact) rated recessed housings require clearance or replacement. Covering them with cellulose creates fire risk and code violation. In Menlo Park’s older ranch homes, we find non-IC cans in roughly 60% of pre-1990 construction.
- Compressing fiberglass batts to fit. Compressed batts lose R-value proportionally. A batt labeled R-30 compressed into a 2×6 cavity performs at approximately R-19. The product label shows the designed thickness for a reason.
- Blocking soffit vents with baffles installed incorrectly. Cardboard or foam baffles must maintain a clear air channel from soffit to ridge. In Menlo Park’s mature neighborhoods with heavy tree cover, blocked ventilation leads to moisture accumulation that doesn’t dry, promoting mold in marine climate conditions.
- Ignoring the attic pull-down stair. The attic access is often the largest single air leak in the thermal envelope. A plywood hatch with no weatherstripping can leak as much as a square foot of open wall. DIY projects routinely insulate around it but not the hatch itself.
- Assuming more insulation is always better. Beyond optimal depth, additional insulation yields diminishing returns while adding weight to ceiling structures. In Menlo Park’s Eichler and similar mid-century homes with 2×6 or 2×8 roof structures, excessive attic insulation can compress ceiling drywall and crack joints.
- Skipping the post-installation walkthrough. Even professional crews miss spots. Without systematic inspection - checking depth at multiple points, verifying coverage at eaves and valleys, confirming no vents are blocked - you don’t know what you don’t know.
- Using the wrong insulation for the application. Cellulose in a damp crawl space wicks moisture and compacts. Fiberglass in a wind-washed attic (ventilated directly at the eaves) loses effective R-value as air moves through it. Material selection requires understanding the specific assembly, not just the R-value per dollar.
When to Call a Professional
Call a professional when your project involves air sealing, spray foam, wall insulation, crawl space work, any permitted alteration, any pre-1980 home, any tax credit claim, or any attic that isn’t simply a rectangle with clear access and no penetrations. Not sure where to start? Read How to Hire a Insulation Contractor in Menlo Park: A Step-by-Step Guide. That’s most projects in Menlo Park.
Topside Attic Insulation Menlo Park offers free estimates in Menlo Park - call (510) 876-4113. Every estimate includes a written price before any work starts, a specified scope with air sealing locations identified, and a clear explanation of what documentation you’ll receive. We publish before-and-after blower-door numbers on every applicable job, so you know what you paid for in performance terms, not just product terms. The 365-Day Done Right Promise applies to all completed work.
Frequently Asked Questions
Most attic insulation jobs in Menlo Park homes between 1,000 and 2,000 square feet run between $2,800 and $4,200 for a complete package including air sealing, insulation to R-49, and pre- and post-blower-door testing. Smaller homes or simple top-offs may fall below this range; larger homes with complex rooflines or extensive air sealing needs may exceed it. Call (510) 876-4113 for a written estimate specific to your home - estimates are free.
No. Spray foam requires specialized equipment, chemical handling certification, and precise on-site ratio control that isn’t available to homeowners. Off-ratio application creates uncured foam that emits odors and requires complete removal. Manufacturers like Icynene and Demilec certify installers specifically because application failure is permanent and expensive. In California, spray foam installation also requires fire-resistant thermal barrier coatings in occupied spaces, adding another layer of code compliance.
Only if air sealing is addressed first. In our experience across Menlo Park homes, insulation alone without air sealing typically reduces heating and cooling loads by 5-15%. Insulation plus comprehensive air sealing reduces loads by 25-40%, with the variation depending on the home’s starting leakage rate. The blower-door test quantifies this precisely - which is why we provide before-and-after numbers on every job.
Not for simple addition of insulation to an existing attic without other alterations. However, if your project is part of a roof replacement, addition, or any other permitted work, the insulation must comply with Title 24 and may require HERS verification. If you’re claiming the federal 25C tax credit, you’ll need contractor documentation regardless of permitting status. When in doubt, Menlo Park’s building department at 701 Laurel Street can confirm requirements for your specific project.
You don’t without testing. Vermiculite insulation, which may contain asbestos, was used in some Menlo Park homes through the early 1980s. It appears as pebbly, gray-brown granules, often with a slight shine. If you see this material, stop work immediately and send a sample to a certified lab - testing costs $75-$150. Disturbing asbestos-containing material without abatement creates serious health and legal exposure. Professional contractors are required to test before disturbing unknown materials; homeowners should apply the same standard.
R-value measures resistance to conductive heat transfer - how slowly heat moves through a material. Air leakage measures how much conditioned air escapes through gaps and cracks, regardless of insulation. A wall can have high R-value and still leak badly at electrical outlets, windows, and framing joints. Insulation addresses R-value; air sealing addresses leakage. Both matter, but in Menlo Park’s climate, air leakage often has greater impact on comfort and energy use than marginal R-value improvements. The blower-door test measures air leakage in CFM50 - cubic feet per minute at 50 pascals of pressure - giving a single figure for the whole house.
The Bottom Line
The DIY versus professional insulation question in Menlo Park comes down to diagnostic access, not manual skill. A competent homeowner can add cellulose or fiberglass to an uncomplicated attic. What they cannot do - what product instructions don’t teach and rental equipment doesn’t provide - is verify that the work changed the building’s performance. The blower-door test is the difference between measured depth and measured result. Air sealing is the difference between burying leaks and stopping them. Professional installation costs more upfront because it includes both, documented in writing, with warranty tied to outcomes rather than inputs. For the one project type that genuinely fits DIY, run the full cost including HERS testing and safety equipment before deciding the savings are real. For everything else, the premium pays for verification that the work actually worked.
Written by Wes Okafor, Owner at Topside Attic Insulation Menlo Park, serving Menlo Park since 2016.