
Last updated September 24, 2026
Seasonal Insulation Care for Menlo Park: Year-Round Homeowner’s Guide
Menlo Park gets roughly 24 inches of rain almost entirely between November and March, yet attic moisture problems here almost never start with a roof leak. In our experience across more than 9,000 homes since 2016, the real culprits are the eave vents and the attic hatch - the two points where outdoor air carrying Pacific moisture meets the cold underside of the roof deck. Our Complete Guide to Insulation in Menlo Park explains what actually drives insulation performance in this mild Mediterranean climate, and what to do about it. You’ll learn why our wet season and our short, dry summer create two distinct stress periods for your building envelope, how to inspect your attic without specialized equipment, and when a professional assessment with documented blower-door numbers is worth the call.
Quick Answer
Seasonal insulation care in Menlo Park centers on two distinct stress periods: the wet season (November-March), when moisture migration through the building envelope can degrade attic insulation, and the dry heat period (August-September), when attic temperatures above 130°F accelerate material aging. The most effective year-round maintenance is a pre-wet-season inspection of soffit vents, attic hatch sealing, and exhaust fan terminations, followed by a post-summer verification that insulation depth matches your installation record. Most homeowners in Menlo Park can perform the visual checks themselves; the critical work of air sealing and performance verification requires a blower-door test and should be done by a trained technician, as we discuss in our DIY vs Professional Insulation guide.
Table of Contents
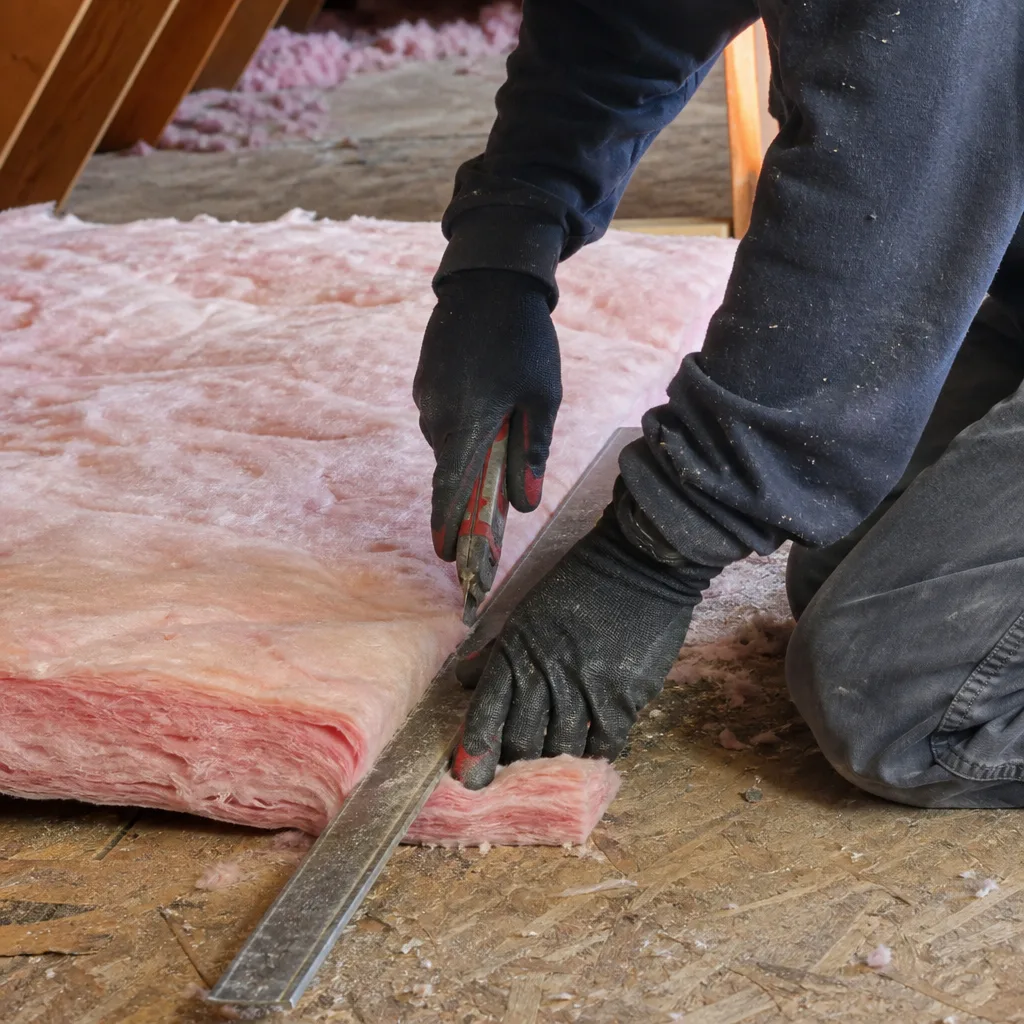
- Why Menlo Park’s Climate Changes the Maintenance Calendar
- The Wet Season Stress Period: November Through March
- Pre-Wet-Season Inspection Checklist
- The Dry Heat Stress Period: August Through September
- How to Assess Radiant Heat Load Without Equipment
- What Changes After a Wet Winter
- Post-Summer Action: Restoring Documented Depth
- Common Mistakes to Avoid
- When to Call a Professional
- Frequently Asked Questions
- The Bottom Line
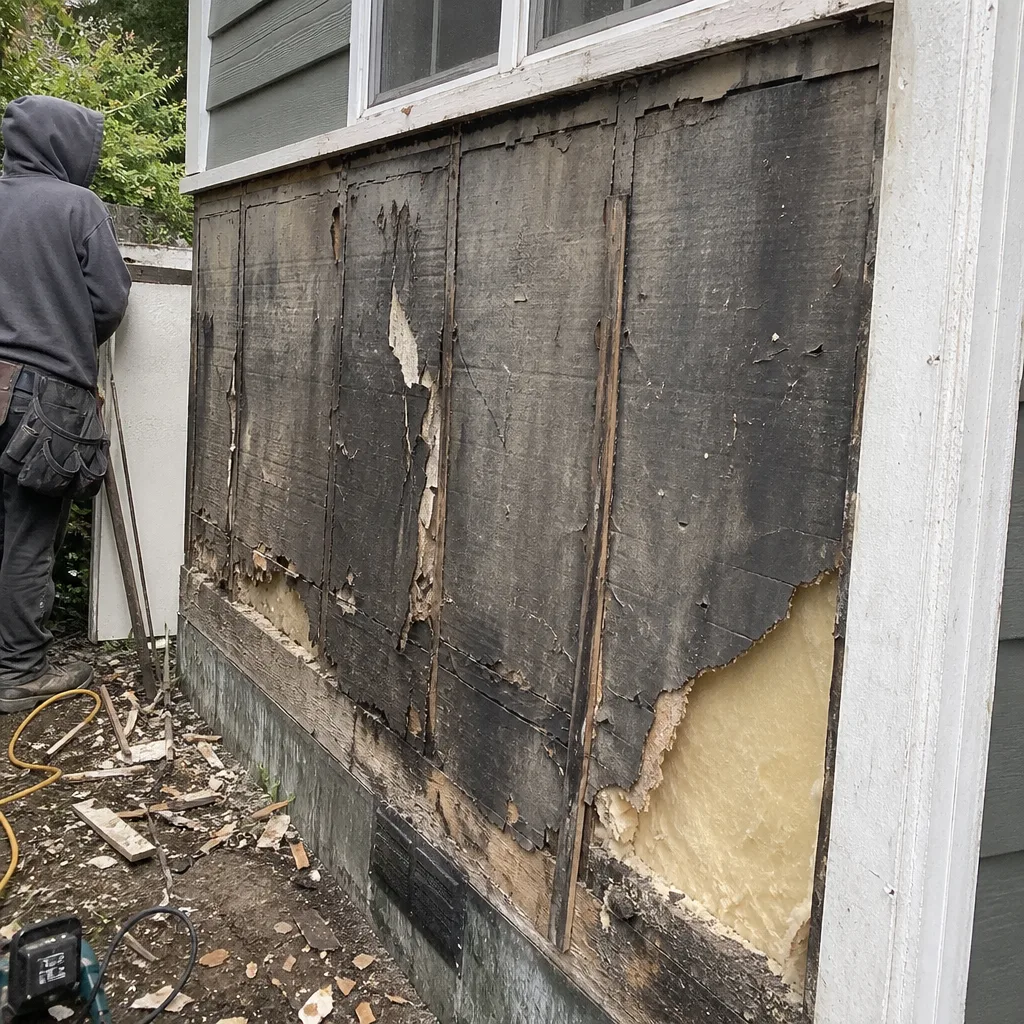 Before
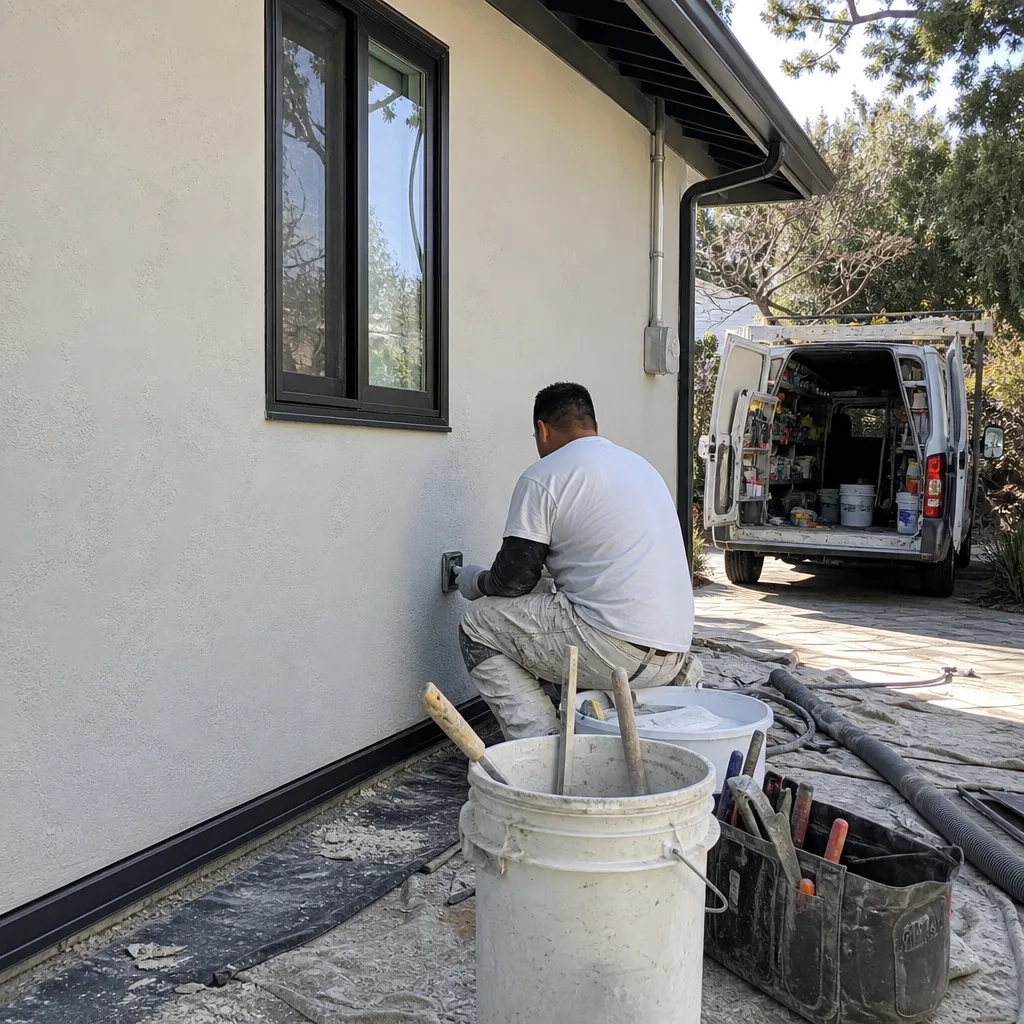 After
AfterWhy Menlo Park’s Climate Changes the Maintenance Calendar
Most insulation maintenance guides are written for climates with dramatic seasonal swings - Minnesota winters, Arizona summers - where the calendar itself dictates the work. Menlo Park doesn’t work that way. Our average January low is 39°F; our average August high is 79°F. The thermal load on your home is modest year-round. What actually stresses insulation here are two specific mechanisms that don’t align with traditional seasonality.
First, moisture migration driven by our concentrated wet season. From November through March, Pacific storm systems deliver nearly all of our annual precipitation in long, steady events. Outdoor relative humidity stays elevated for weeks. When that moist air finds pathways into the attic - through poorly sealed top plates, unsealed can lights, or a leaky attic hatch - it encounters the cold roof deck and condenses. Wet insulation loses R-value, compacts, and can support mold growth. The damage happens slowly, invisibly, and often in insulation that was installed perfectly dry.
Second, radiant heat buildup in our brief but intense dry period. August and September bring clear skies, low humidity, and solar radiation that can push attic temperatures past 130°F even when outdoor air is in the 70s. This isn’t conduction from hot outdoor air; it’s infrared radiation from the roof deck itself, heating insulation from above and accelerating the chemical breakdown of certain materials. Fiberglass is largely unaffected, but cellulose binders can degrade, and spray foam can off-gas slightly more in sustained high heat.
The implication: Menlo Park homeowners should organize maintenance around these two stress mechanisms, not around arbitrary calendar dates. The work that matters happens before the wet season begins, and after the dry heat period ends. Everything in between is monitoring.
We’ve documented this pattern across hundreds of homes in Menlo Park, Atherton, and Palo Alto. The blower-door test - a pressurization reading that shows, in one number, how much air your building envelope is losing - consistently reveals that homes with active moisture problems in March had air leakage rates 40-60% higher the previous October than homes that stayed dry. The warning signs were present; they just weren’t visible without measurement.
The Wet Season Stress Period: November Through March
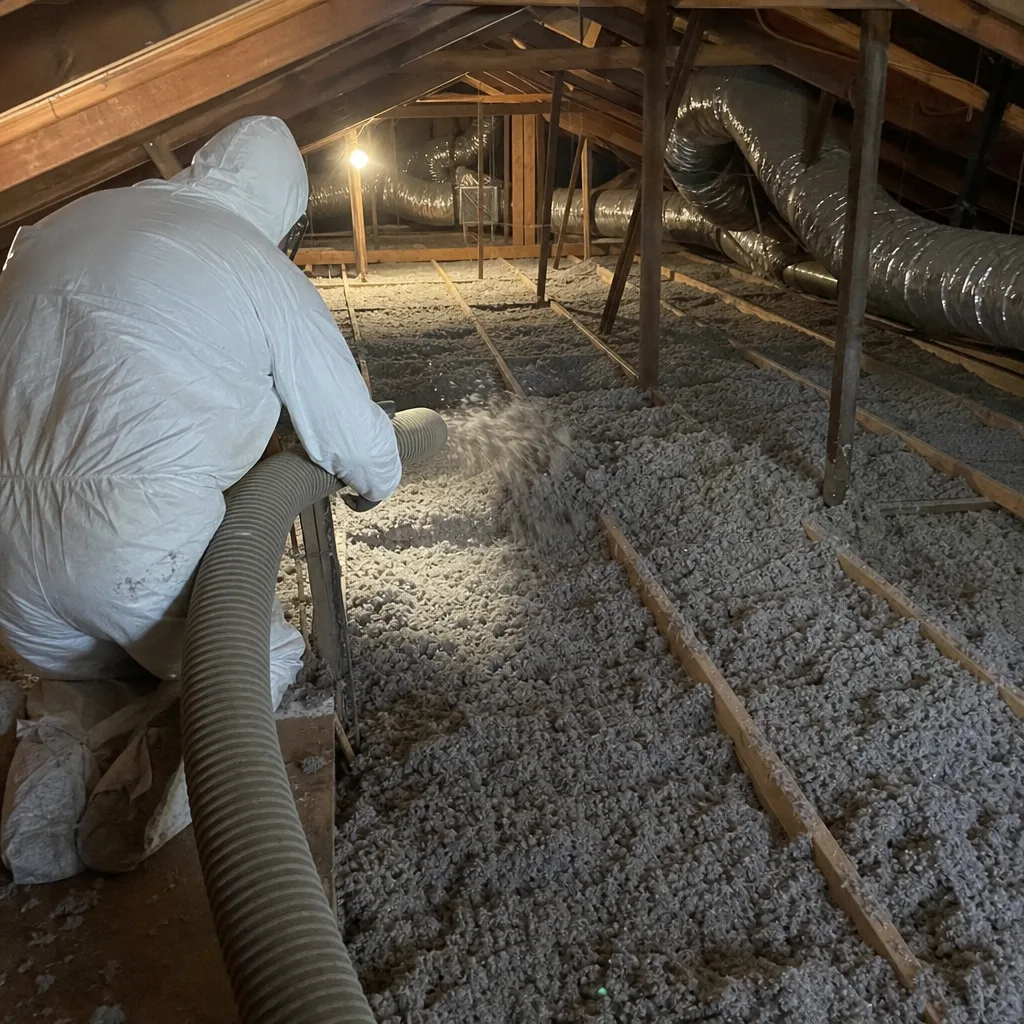
The wet season is when Menlo Park insulation faces its most serious threat, and it’s not the obvious one. Roof leaks do happen, but they’re rare and usually conspicuous. The real problem is vapor drive - the movement of water vapor from areas of high concentration to low concentration, and from warm to cold.
Here’s how it plays out in a typical Menlo Park home built between 1950 and 1990, which describes much of the housing stock in neighborhoods like Suburban Park, the Willows, and the Belle Haven area. Indoor air in winter is relatively warm and moist from cooking, showering, and breathing. Outdoor air is cool and saturated with Pacific moisture. Both air masses are drawn toward the attic by stack effect - the natural rise of warm air - and by wind pressure across the roof. Where they meet at the roof deck, the temperature drops below the dew point, and water condenses on the plywood or shingles’ underside.
The condensation drips onto insulation below. Fiberglass batts wick water downward and compress. Loose-fill cellulose, which is treated with borates for fire resistance, absorbs moisture and can clump. Over a single wet season, we’ve measured depth loss of 10-15% in cellulose that lacked proper vapor management - meaning an attic that started at R-38 can drop to R-32 or lower without any material being removed.
The critical factor is air sealing, not vapor barriers. A plastic vapor barrier on the warm side of the attic floor, once common practice, can actually trap moisture in our climate. What works in Menlo Park is sealing the air leaks that carry moisture into the attic in the first place: top plates where walls meet the ceiling, electrical and plumbing penetrations, can light housings, and the attic hatch perimeter. This is the sequence we follow on every job: sealed first, then insulated. We will never blow insulation over an unsealed attic floor.
On applicable jobs, we provide before-and-after blower-door numbers so the homeowner can verify the air-sealing result. A typical Menlo Park home of 1,800 square feet might read 3,800 CFM50 before sealing and 2,400 after - a reduction that directly correlates with reduced moisture migration.
Pre-Wet-Season Inspection Checklist
The ideal timing for this inspection is mid-October, before the first sustained rains arrive, as detailed in our Attic Insulation Maintenance Checklist for Menlo Park Homeowners. Most of these checks require only a flashlight, a tape measure, and access to the attic. If you’re uncomfortable with ladders or confined spaces, skip the attic entry and focus on the exterior and interior checks; call for professional assessment of the rest.
- Check soffit vent screens for debris. Walk the perimeter of your home and look up at the soffit vents - the rectangular or circular openings under the eaves. In Menlo Park, these screens collect dust, spider webs, and particularly pollen from the coast live oaks and California bay laurels common in the area. Blocked soffit vents reduce the airflow that carries moisture out of the attic. Clean screens with a soft brush; replace any that are torn or missing. This is a 15-minute task that prevents a common moisture source we see in homes near the Menlo Park Civic Center and along Middlefield Road.
- Confirm attic hatch sealing. The attic hatch is the largest unsealed opening in most residential ceilings. Open it and look for weatherstripping around the perimeter of the trim - the wood frame that sits on the ceiling drywall. There should be a compressible gasket that makes contact with the hatch when closed. The hatch itself should have rigid insulation attached to its upper surface, typically 2-inch extruded polystyrene or equivalent. If you see bare drywall or plywood on the hatch top, or if the weatherstripping is cracked or missing, you’re losing conditioned air and admitting moisture. Replacement weatherstripping and a simple insulated cover are available at any hardware store; installation takes under an hour.
- Verify exhaust fan terminations. This check requires attic entry. Locate the flexible ducts from your bathroom and kitchen exhaust fans. Trace each one to where it exits the attic - ideally through a roof cap or gable-end vent, never into the attic space itself. In Menlo Park homes from the 1960s and 1970s, we still find fans dumping moist air directly into attics, a practice that was code-compliant then and is now a guaranteed moisture problem. The duct should be insulated if it passes through unconditioned space, and the connection to the fan housing should be sealed with foil tape, not duct tape, which degrades in attic heat.
- Inspect visible insulation for staining or compression. With the attic lights on, look for dark streaks on fiberglass batts or gray discoloration on cellulose - indicators that air is moving through the material, carrying dust and moisture. Measure insulation depth at several points; compare to your installation record or to the depth markers that should be visible on trusses or joists. In Menlo Park, current Title 24 energy code calls for R-38 to R-49 in attics, which translates to roughly 12-15 inches of fiberglass or 10-13 inches of cellulose, depending on product density.
- Check for daylight through the attic floor. Turn off attic lights and look down at the floor. Any visible daylight indicates a penetration that isn’t sealed - wiring holes, top plate gaps, or around chimney chases. These are air leakage paths that become moisture highways in winter. Mark them with tape for professional sealing; don’t attempt to seal around recessed lighting or chimney framing yourself.
Document what you find. Photos with date stamps create a record that helps track changes year over year, and they’re useful if you later bring in a contractor for assessment.
The Dry Heat Stress Period: August Through September
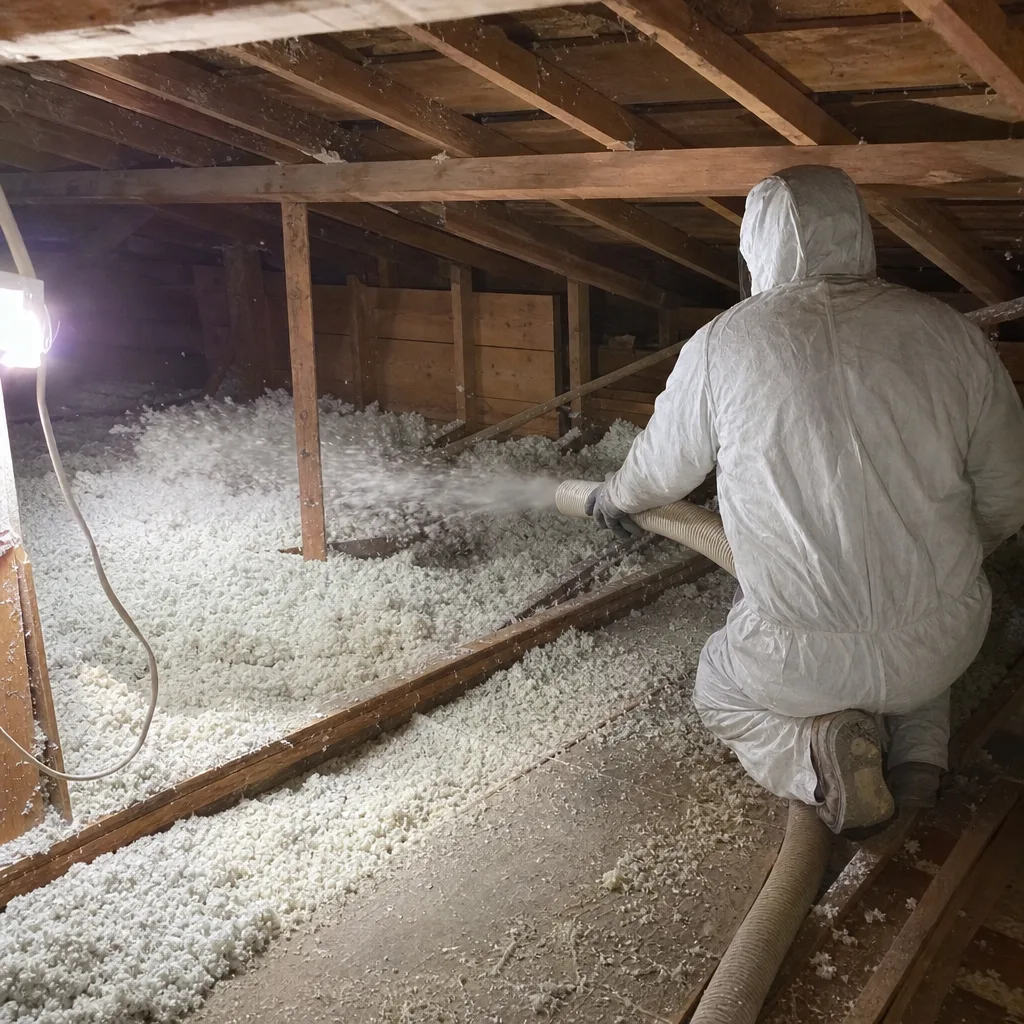
Menlo Park’s summer doesn’t feel extreme. Outdoor temperatures rarely crack 90°F. But attic conditions tell a different story. On a clear August afternoon, a dark asphalt shingle roof in full sun can reach 160°F. That heat radiates downward - infrared radiation, not hot air - and warms everything in the attic regardless of the outdoor temperature.
The consequences depend on your insulation type and what’s above it. Fiberglass, being largely inert, handles radiant heat well. Cellulose, which contains organic binders and fire retardants, can experience slight degradation of those additives over many seasons of thermal cycling. Spray foam, particularly open-cell formulations, can soften slightly at sustained temperatures above 180°F, though this threshold is rarely reached in Menlo Park attics with adequate ventilation.
The more immediate concern is what radiant heat does to the structure and systems around the insulation. HVAC ducts in unconditioned attics absorb radiant heat and lose cooling capacity. The air handler works harder. In extreme cases, the temperature differential between the hot attic and the cooled interior can drive moisture inward through small leaks, a reverse of the winter pattern.
This is where Topside Attic Insulation Menlo Park home assessments often reveal opportunities that homeowners hadn’t considered. A radiant barrier - a reflective surface, typically aluminum foil laminated to a substrate, installed on the underside of the roof deck or draped over the rafters - can reduce radiant heat transfer by 90% or more. It’s not insulation in the traditional sense; it doesn’t resist conduction. It reflects infrared radiation before it reaches the insulation layer below.
In Menlo Park, radiant barriers are most cost-effective in homes with dark roofs, limited attic ventilation, or significant ductwork in the attic. They’re less beneficial in homes with light-colored tile roofs or well-ventilated attics that rarely exceed 110°F. The decision should be based on measured attic temperatures, not generic recommendations.
How to Assess Radiant Heat Load Without Equipment
You don’t need a thermal camera or data logger to get useful information about your attic’s radiant heat load. A simple thermometer and timing are sufficient.
On a clear day in August or early September, insert a thermometer into your attic through the hatch at 3 PM - the typical peak for solar gain. A basic digital thermometer with a remote probe works; even a meat thermometer left in place for ten minutes will give a reasonable reading. Record the temperature, and record the outdoor temperature at the same time.
Here’s what the numbers mean for Menlo Park:
- Below 110°F: Your attic ventilation and roof color are managing radiant heat adequately. No action needed unless you’re adding insulation and want to optimize the assembly.
- 110°F to 130°F: Moderate radiant load. If you have HVAC ducts or equipment in the attic, consider a radiant barrier or duct insulation upgrade. If the attic is used only for insulation storage, this range is acceptable though not ideal.
- Above 130°F: Significant radiant heat load. A radiant barrier is likely cost-effective, particularly if your cooling bills are high or your AC struggles on hot afternoons. We’ve measured 145°F in Menlo Park attics with dark shingles and blocked ridge vents; that’s enough to degrade some materials over time and substantially reduce duct efficiency.
The mechanism matters here. Radiant heat travels in straight lines from hot surfaces; it doesn’t need air to move. That’s why a radiant barrier works even in a well-ventilated attic. It reflects infrared radiation back toward the roof deck, where ventilation carries it away. Conduction - heat moving through solid materials - is what insulation resists. In Menlo Park’s dry summer, both mechanisms are active, and addressing only one leaves performance on the table.
If you’re considering a radiant barrier, know that installation quality varies significantly. A barrier with dust accumulation on its upper surface loses effectiveness; a barrier with gaps or poor fastening creates thermal bypasses. Professional installation with proper detailing at hips, valleys, and penetrations is worth the cost for most homeowners.
What Changes After a Wet Winter
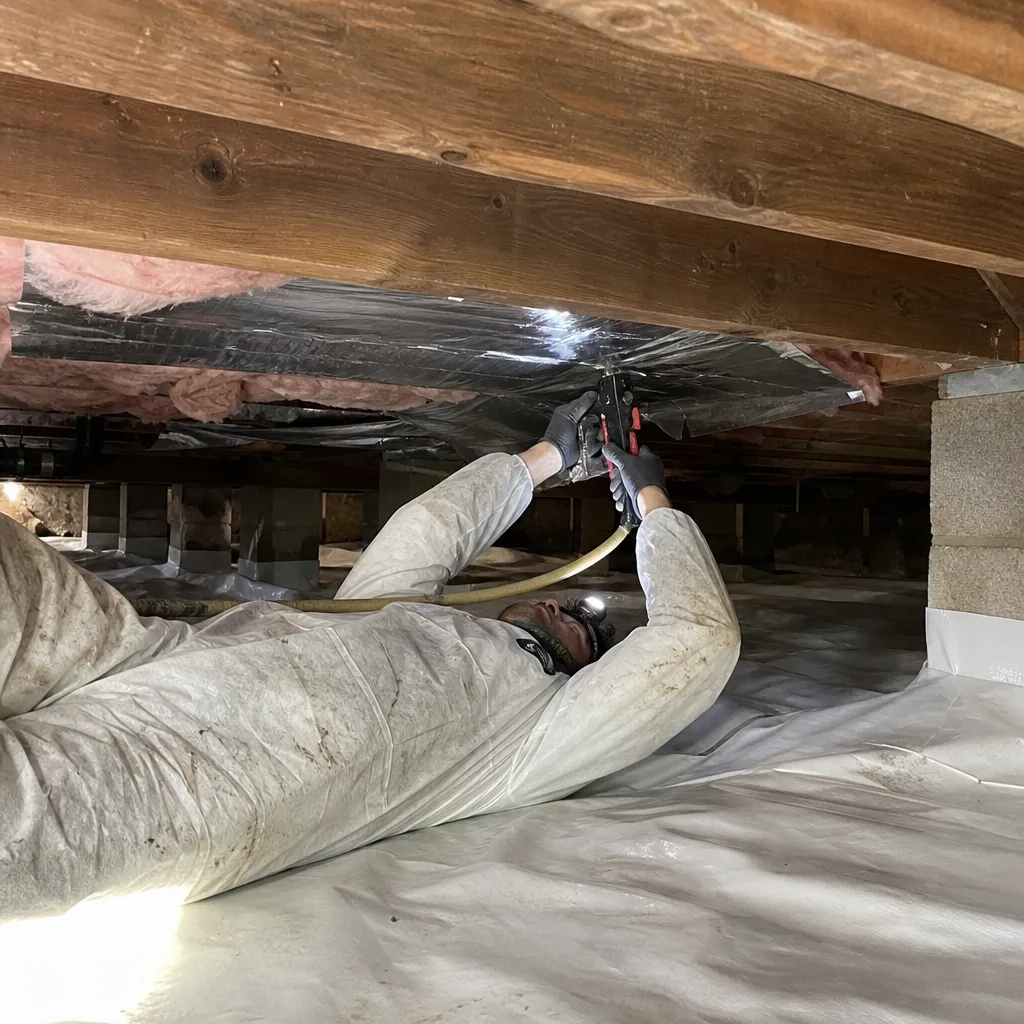
March in Menlo Park brings the end of the rainy season and the beginning of attic assessment season. Here’s what to look for, and what the findings mean.
Cellulose compaction and clumping. Loose-fill cellulose that has absorbed moisture during winter will show visible clumping - small, dense aggregates that break apart under light pressure. The material may also appear darker than when installed, as moisture carries dust and pollutants into the fibers. Measure depth at multiple points and compare to your installation record. A 10-15% depth loss from compaction is common after a wet winter without adequate air sealing; more than 20% suggests active moisture intrusion that needs investigation.
We’ve found this pattern repeatedly in Menlo Park’s older neighborhoods, particularly in homes with original lath-and-plaster ceilings that are naturally leaky at the top plates. The cellulose in these homes can look fine from the hatch but be significantly compacted near the eaves where moist air enters. A thorough inspection requires moving across the attic floor, not just looking from the access point.
Fiberglass staining and compression. Fiberglass batts that have been wetted show dark streaking on the upper surface - dirt carried by moving air that filtered through the moist material. Wet fiberglass also compresses under its own weight, losing loft and R-value. Unlike cellulose, fiberglass doesn’t recover when dried; the binder that maintains loft breaks down. Stained or compressed batts should be removed and replaced, not left in place.
Mold and mildew indicators. Musty odors in the attic, visible dark spotting on wood surfaces, or white powdery growth on insulation are all signs of sustained moisture. These conditions require professional remediation; disturbing moldy materials without containment spreads spores into the living space. If you suspect mold, limit your inspection to visual observation from the hatch and call for assessment.
Structural wood moisture. Press a screwdriver firmly into exposed roof deck or rafter wood. Soft, punky wood indicates sustained moisture levels above 20% - a condition that supports wood-decay fungi. This is beyond insulation maintenance and requires structural evaluation.
The post-winter recovery action is straightforward: address any moisture source first, then restore insulation to documented depth and R-value. Adding new material over wet or compacted old material traps problems and wastes money. In our work, we remove compromised insulation, repair air leaks, allow the assembly to dry, then install new material to the specified depth - with before-and-after blower-door numbers to confirm the envelope is tighter than when we started.
Post-Summer Action: Restoring Documented Depth
September and early October are the right time for a different kind of inspection: verifying that summer work hasn’t disturbed your insulation layer.
HVAC maintenance is the most common culprit. Technicians working in attics during August and September - peak season for AC service - routinely compress insulation by walking on it, displace batts to access equipment, or fail to restore material after duct repairs. We’ve found attics in Menlo Park where 20% of the insulation surface had been disturbed by a single service call, with no documentation and no restoration.
The check is simple. Review your installation record for the documented insulation depth and coverage area. Enter the attic and verify depth at the locations specified in your record - typically the center of the attic and near the eaves, measured perpendicular to the attic floor. Look for pathways of compressed or displaced material leading to HVAC equipment. Check that bath fan housings and duct connections are still sealed.
If you don’t have an installation record, create one now. Measure and photograph insulation depth at 4-6 representative locations. Note the product type - fiberglass batts, loose-fill fiberglass, loose-fill cellulose, spray foam - and the approximate installation date if known. This becomes your baseline for future comparison.
For homes with Attic Insulation in Menlo Park installed by our team, the Documented Photo Record included on every visit provides this baseline automatically. Homeowners receive dated photos with depth measurements and coverage maps. When we return for any subsequent work, we reference the same locations for direct comparison.
If summer disturbance has reduced depth significantly - more than 10% in any area - restoration is warranted before the wet season begins. Compressed fiberglass doesn’t rebound. Displaced batts need repositioning. Missing loose-fill needs replenishment to match the original specification. This is maintenance, not replacement, and it’s far less costly than allowing degraded insulation to face another wet season.
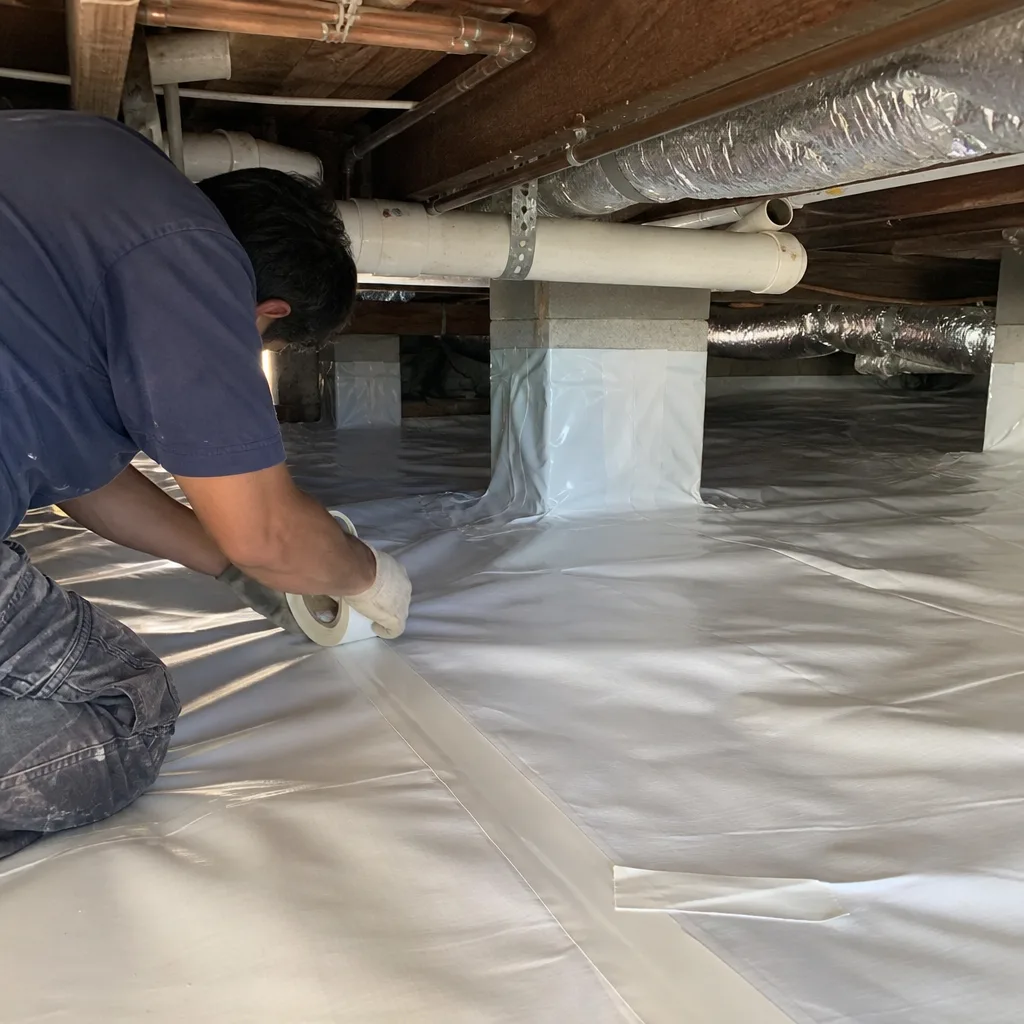
For homes with Crawl Space Encapsulation & Vapor Barrier in Menlo Park, the same principle applies: check that the vapor barrier is intact, that insulation on crawl space walls hasn’t been disturbed by plumbing or pest control work, and that the dehumidifier (if present) is functioning before humidity rises in winter.
Common Mistakes to Avoid
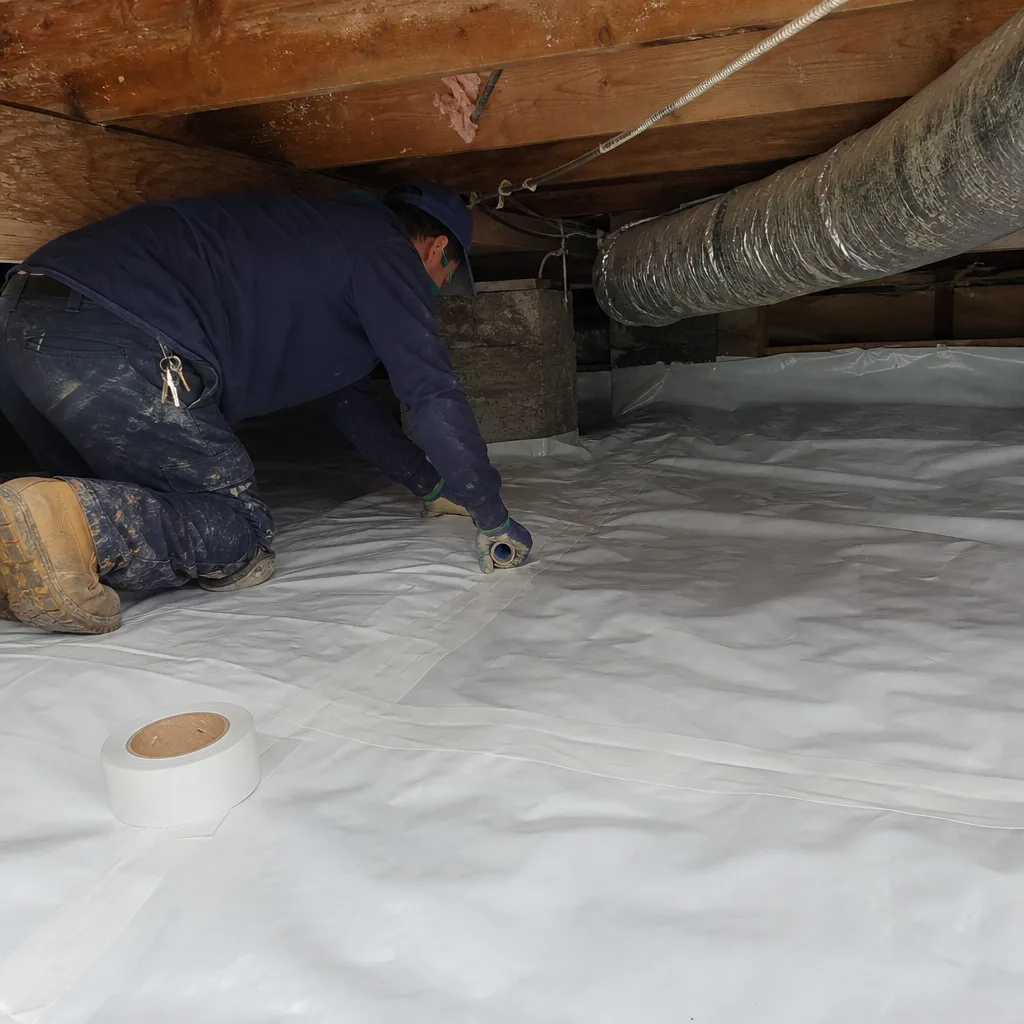
- Adding insulation over unsealed air leaks. This is the most common error we correct in Menlo Park homes. New insulation over leaky top plates and can lights performs poorly, traps moisture, and conceals the real problem. Air sealing must precede insulation, always.
- Assuming roof leaks are the primary moisture source. In Menlo Park’s climate, interior air leakage and exterior ventilation failures cause more attic moisture problems than compromised roofing. Check vents and hatches before calling a roofer.
- Measuring insulation depth only at the hatch. The area near the attic access is often the most disturbed and least representative. Measure near eaves, at mid-attic, and around equipment. In neighborhoods like Sharon Heights with complex rooflines, depth varies significantly by pitch and orientation.
- Ignoring exhaust fan terminations. A bathroom fan dumping into the attic delivers gallons of moisture per shower directly into the insulation layer. This single defect can ruin an otherwise well-performing attic assembly.
- Installing a vapor barrier on the warm side. In our mild, wet-winter climate, interior vapor barriers trap moisture in wall and ceiling assemblies. Air sealing is the correct moisture control strategy; vapor barriers are appropriate only in specific retrofit situations with professional guidance.
- Skipping post-HVAC-service verification. The technician who serviced your air handler in August has no obligation to restore insulation. Check their work in September, before the wet season begins.
- Using attic temperature readings from the wrong time. A 10 AM reading in August underestimates peak radiant load by 20°F or more. Measure at 3 PM on a clear day for decision-quality data.
When to Call a Professional
Some conditions require trained assessment and documented repair. Call for professional evaluation if you find mold or mildew growth, structural wood damage, insulation that has been wet for an unknown duration, or if your blower-door test (or lack thereof) leaves you uncertain about air leakage rates. Any home built before 1990 in Menlo Park likely has significant air leakage at top plates and penetrations that visual inspection alone won’t quantify.
Topside Attic Insulation Menlo Park offers free estimates in Menlo Park - call (510) 876-4113. Every assessment includes a written price before any work starts, under Haven Standard Clause 1, and on applicable jobs, before-and-after blower-door readings so you can verify the result. We also provide a Free Second Opinion on any written estimate from another contractor; bring us the quote and we’ll review it with you.
Frequently Asked Questions
Most attic insulation maintenance and restoration work in Menlo Park runs between $1,800 and $4,500 for a typical 1,500-2,500 square foot home, depending on whether air sealing is needed, the extent of material replacement, and access conditions. A straightforward depth restoration with minor air sealing falls at the lower end; full removal of compromised material, comprehensive sealing, and new insulation to current Title 24 standards falls at the higher end. Call (510) 876-4113 for a written price before any work starts - estimates are free.
The visual and measurement checks described in this guide - soffit vent inspection, attic hatch verification, depth measurement, and temperature reading - are within most homeowners’ capability. Air sealing, blower-door testing, and mold remediation require professional equipment and training. We recommend DIY monitoring with professional assessment every 3-5 years, or immediately if you find warning signs during your own inspection. See our more guides & resources for additional home maintenance help.
Properly installed and maintained insulation in Menlo Park should last 20-30 years for fiberglass, 15-25 years for cellulose, and indefinitely for spray foam barring physical damage or fire. The key variable is moisture exposure. Insulation that stays dry performs indefinitely; insulation that experiences repeated wetting will degrade regardless of age. Annual inspection and prompt moisture source repair extend service life significantly.
Spray Foam Insulation in Menlo Park is worth considering for specific applications: irregular joist cavities that are difficult to fill with batts, conditioned attics where HVAC equipment resides, and homes with severe air leakage that would be labor-intensive to seal conventionally. The air-sealing benefit of closed-cell spray foam is substantial - typically 2-3 times the R-value per inch of fiberglass, plus inherent air barrier properties. For standard vented attics with straightforward access, blown fiberglass or cellulose with meticulous air sealing often delivers comparable performance at lower cost. We specify materials from Owens Corning, Johns Manville, Knauf, and other manufacturers based on the application, with no proprietary lock-in.
Musty odors without visible leaks almost always indicate air leakage carrying moisture into the attic, not roof failure. The moisture is condensing on cold surfaces and being absorbed by insulation before it accumulates enough to drip. The smell is the first indicator; visible damage comes later. A blower-door test with infrared imaging will locate the air paths. In Menlo Park, we see this pattern frequently in homes with unsealed attic hatches and can lights, particularly in the flat-roof sections common in mid-century construction.
Menlo Park’s Title 24 requirements are the same as surrounding cities - R-38 to R-49 in attics for new construction and major retrofits. The mild climate reduces energy bills compared to hotter or colder regions, but it doesn’t reduce the insulation value needed for comfort and moisture control. In fact, our wet season makes proper depth and air sealing more critical than in drier climates where moisture isn’t a degradation factor. A well-insulated, well-sealed home in Menlo Park uses less energy and experiences fewer moisture problems than one that relies on the mild climate to forgive shortcuts.
Under the Haven Standard, you should receive four documents: a written scope of work with flat pricing before any work starts; a written warranty; a Documented Photo Record of the completed work; and on applicable jobs, before-and-after blower-door readings showing the air-sealing result. Any contractor who can’t produce these, or who asks you to sign a blank proposal, is not following a documentation standard that protects your interests. We deliver all four on every job, no exceptions.
The Bottom Line
Seasonal insulation care in Menlo Park is not about following a generic maintenance calendar. It’s about understanding two distinct stress mechanisms - moisture migration in our concentrated wet season, and radiant heat buildup in our brief dry summer - and timing your actions to address each. The pre-wet-season inspection of vents, hatches, and exhaust terminations prevents the moisture damage that degrades insulation silently. The post-summer depth verification catches the disturbance that HVAC maintenance often leaves behind. Between these two points, monitoring is enough. Document what you find, compare year over year, and bring in professional assessment when the numbers or the conditions exceed what DIY observation can resolve. The cost of prevention is modest; the cost of replacing moisture-compromised insulation, with the air sealing that should have happened first, is not.
Written by Wes Okafor, Owner at Topside Attic Insulation Menlo Park, serving Menlo Park since 2016.